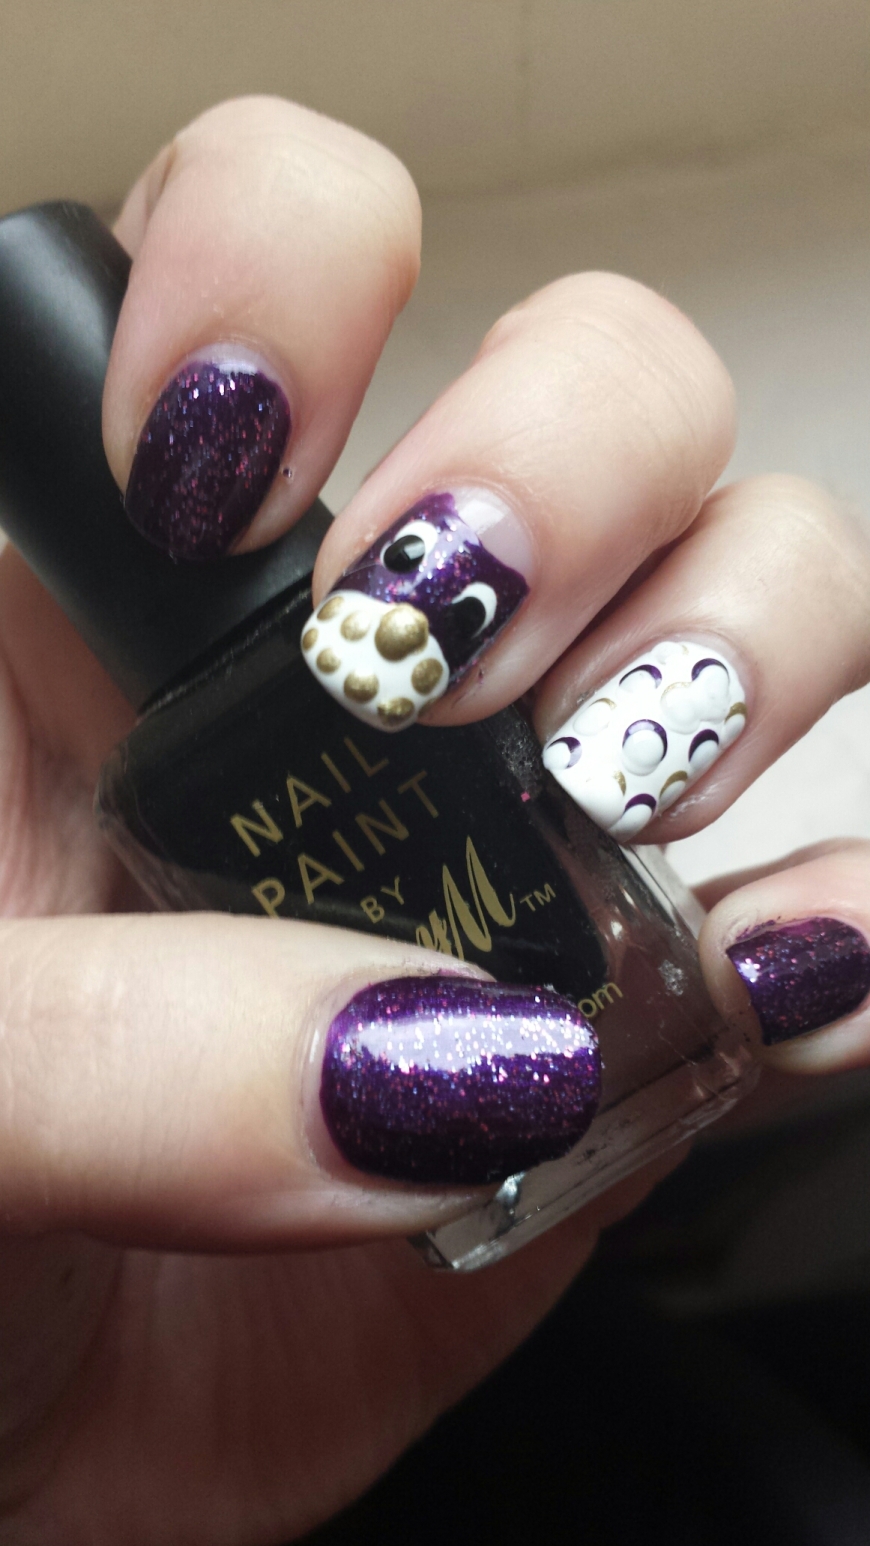
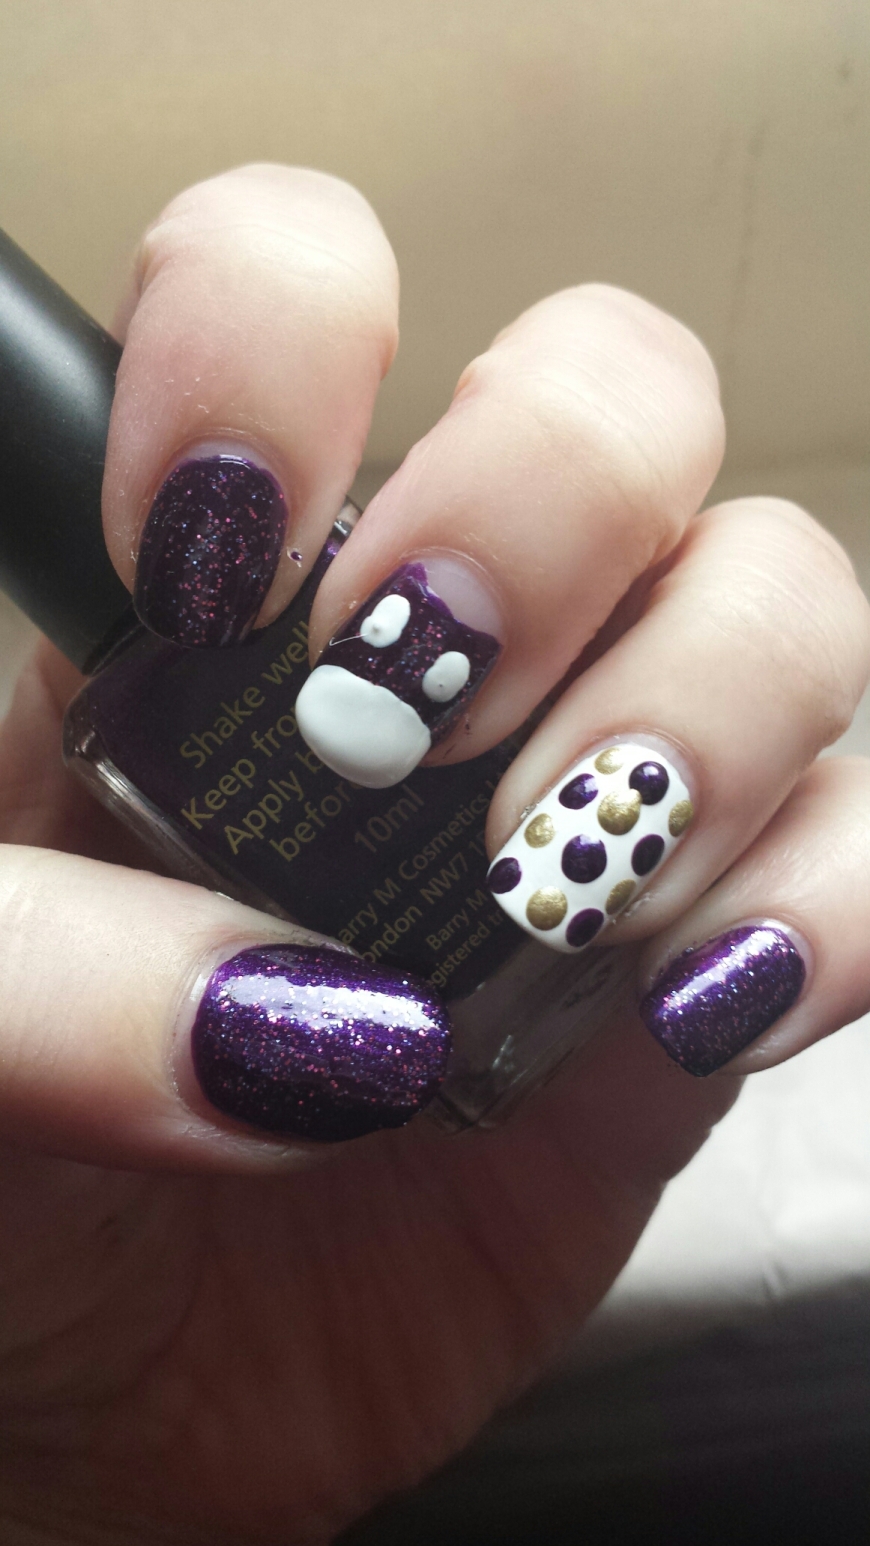
Owl Nail Art

image

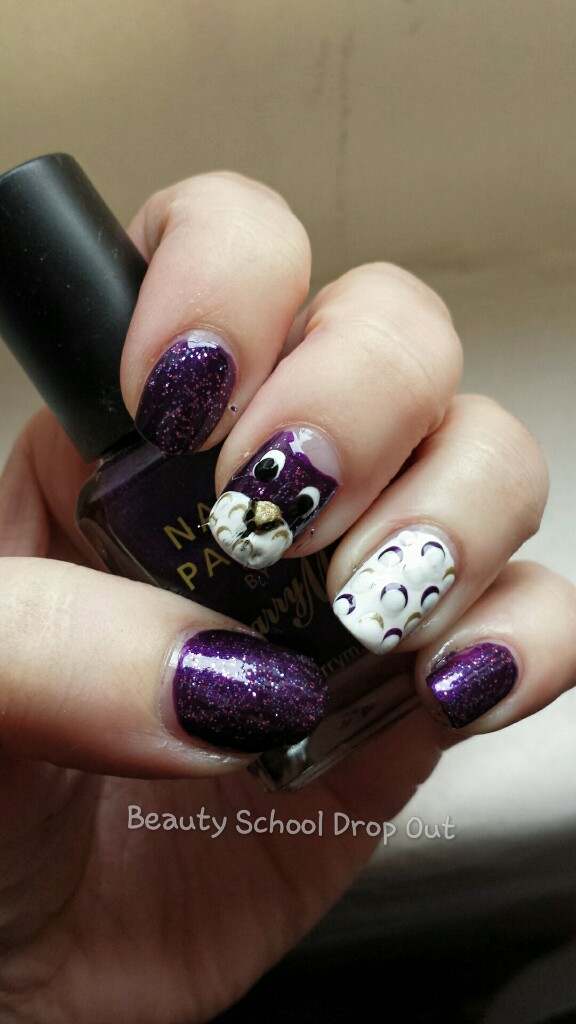
I was inspired to try this out after seeing another beauty blogger on Instagram. I have to admit it took me a LONG time and a lot of steps, but I feel like the work paid off as I think they look great (until I smudged one of the nails after getting out of the bath…oops 😦 ).

You will need:

  • Basecoat
  • Purple glitter nail polish
  • White nail polish
  • Gold nail polish
  • Black nail polish
  • Black nail art pen
  • Dotting tool
  • Top coat

PART ONE – THE BASICS 

Step One 

File and shape nails and follow with a coat of base coat on all of your nails.

Step Two 

(You don’t have to do it in the same order as me, do it whichever way is easier for you!)

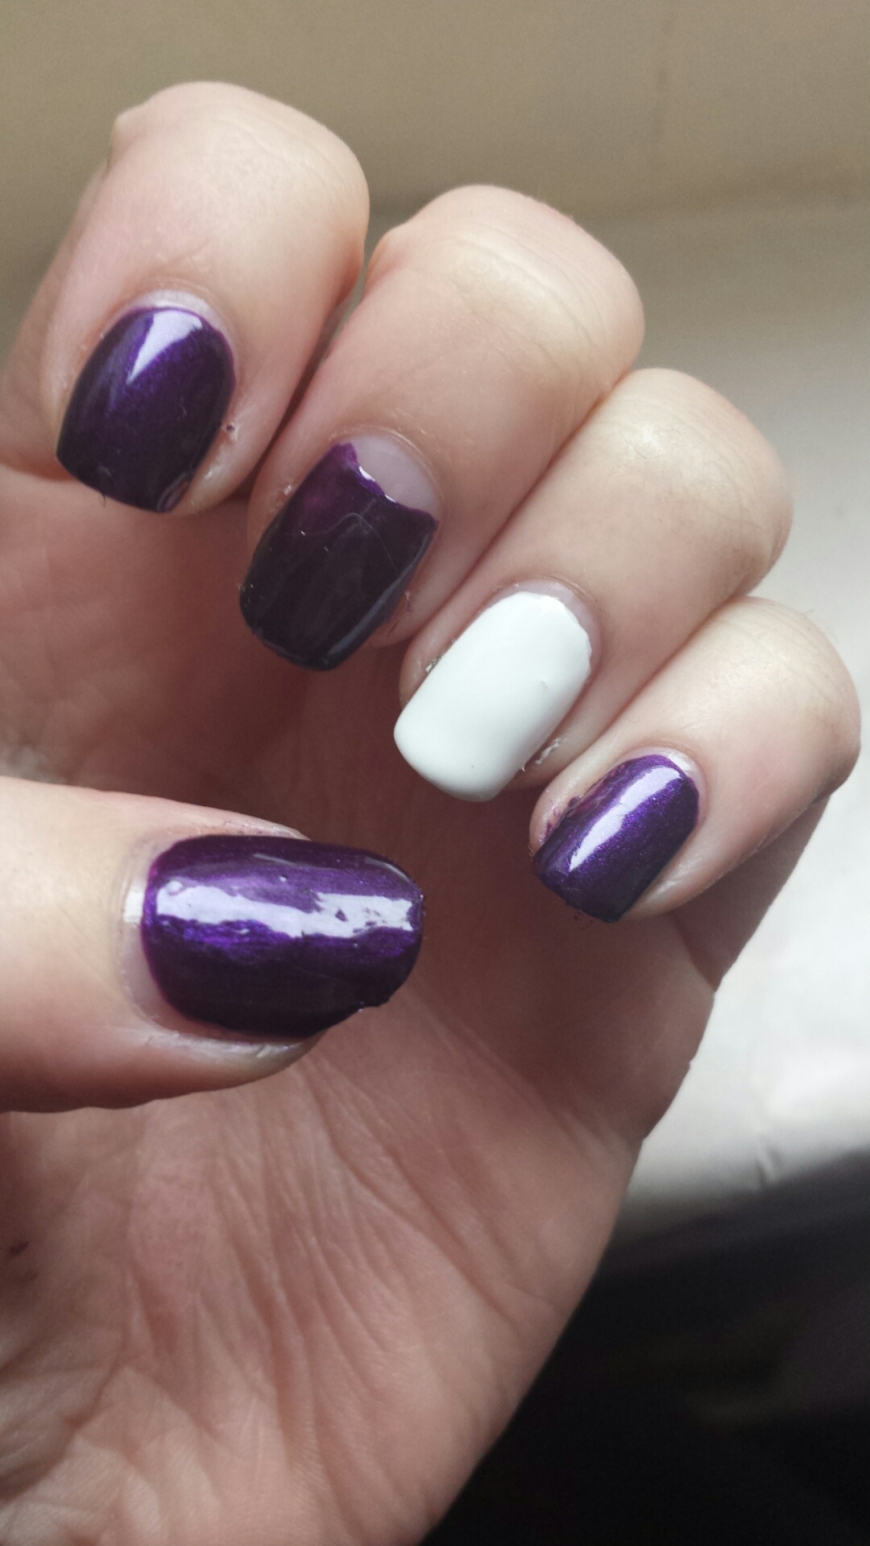
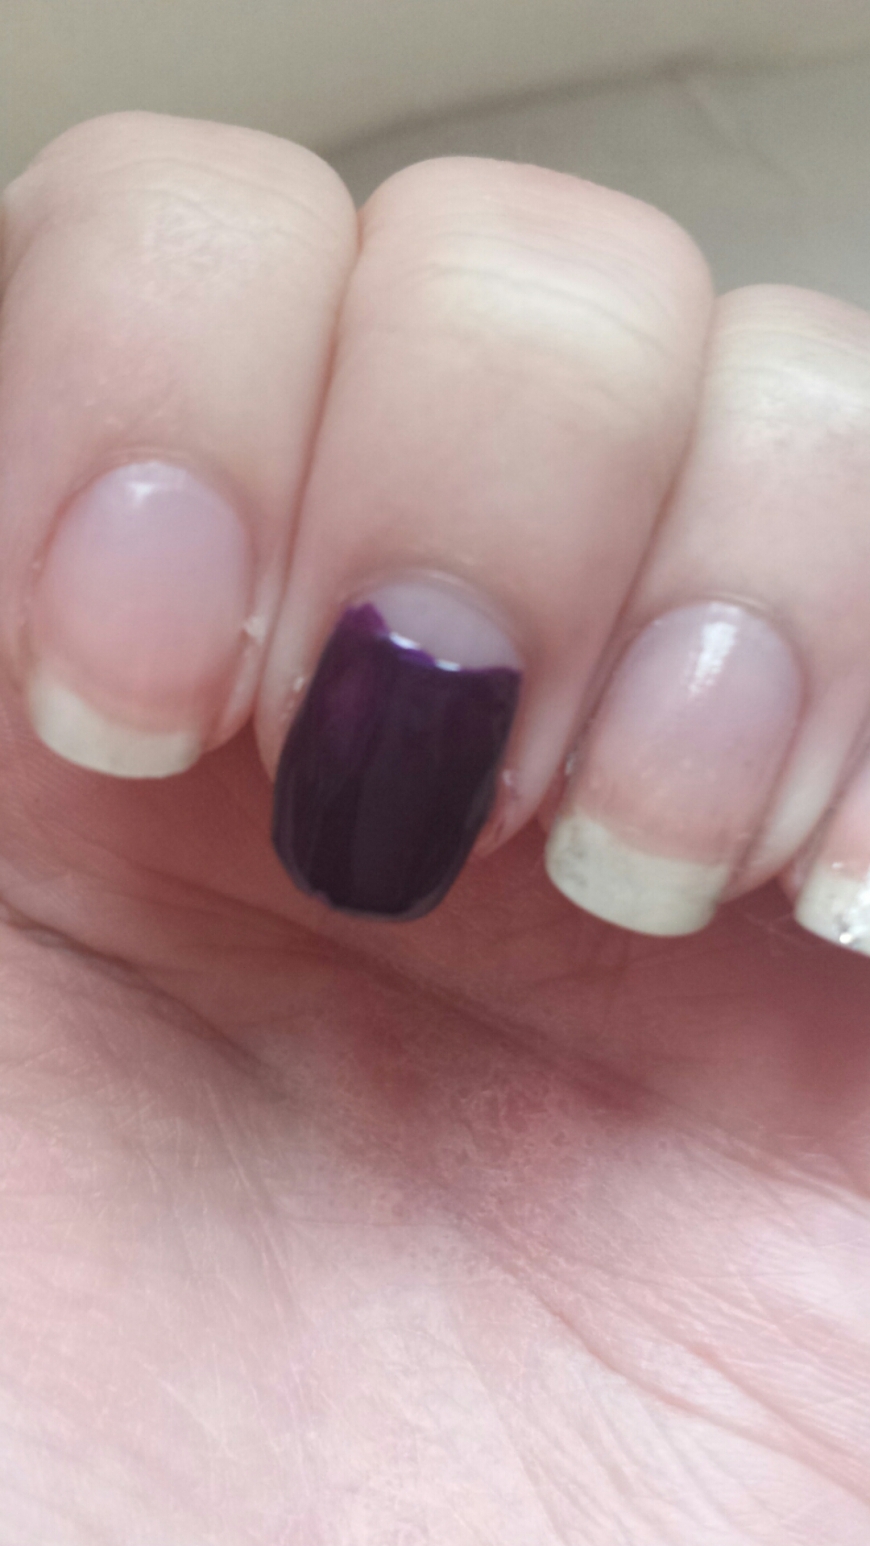
Using your purple polish paint three quarters of the way up your middle finger nail leaving about half a centimetre gap from your cuticle.

Dragging the polish from the left side of your cuticle to the right, create an arc/curve shape and repeat from the other side to even up.

Do exactly the same thing on the middle finger of your other hand.

image

Step Three 

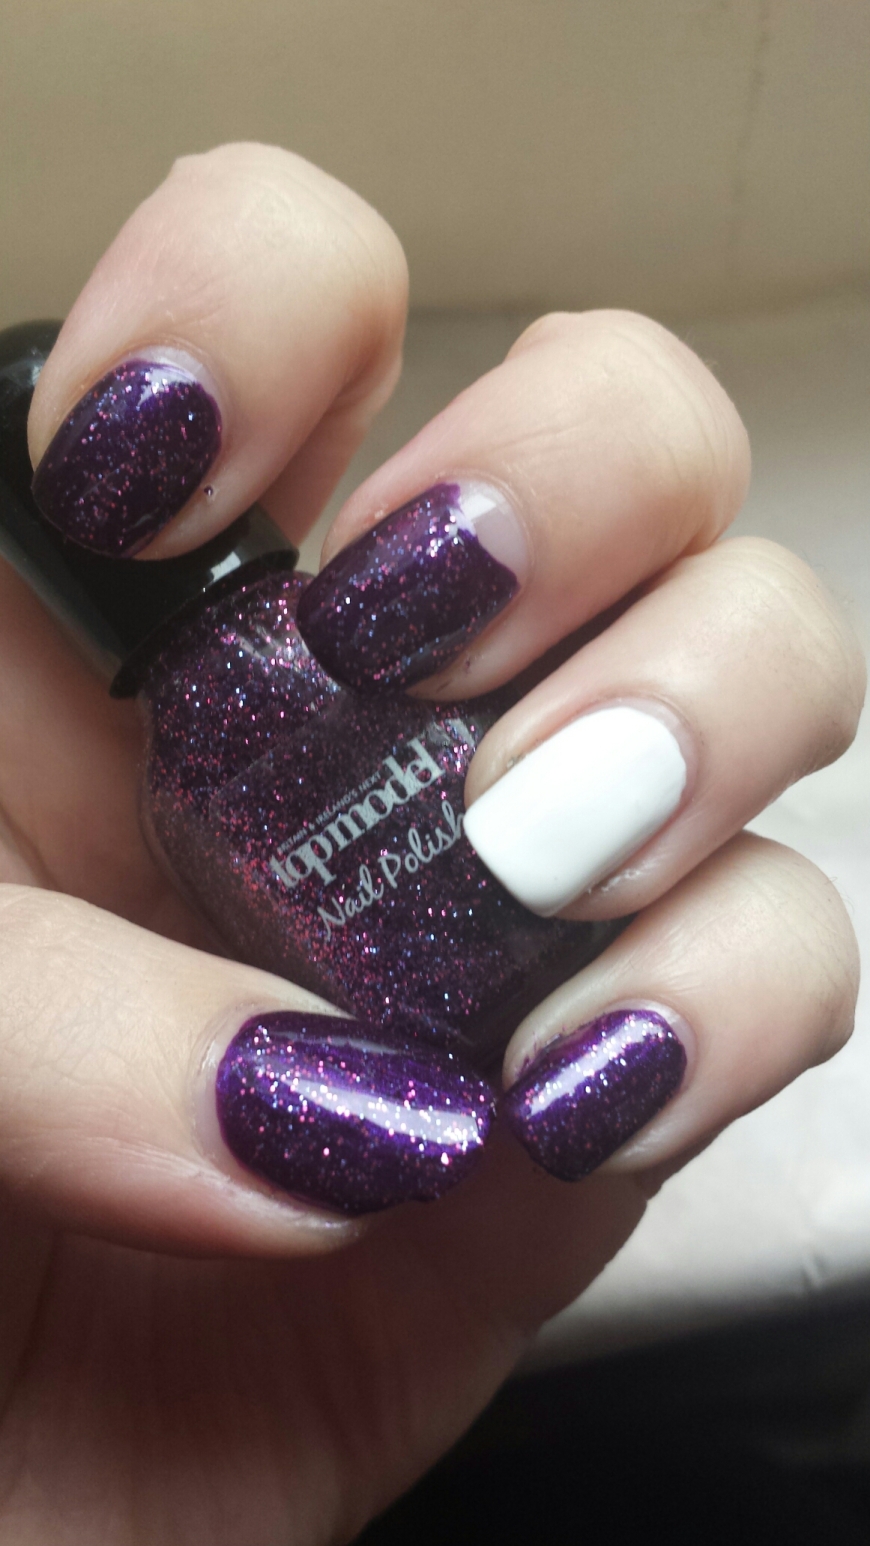
Paint your little finger, index finger and thumb using the same purple polish. I used a purple polish and then topped it with purple glitter. Repeat on the opposite hand.

Step Four 

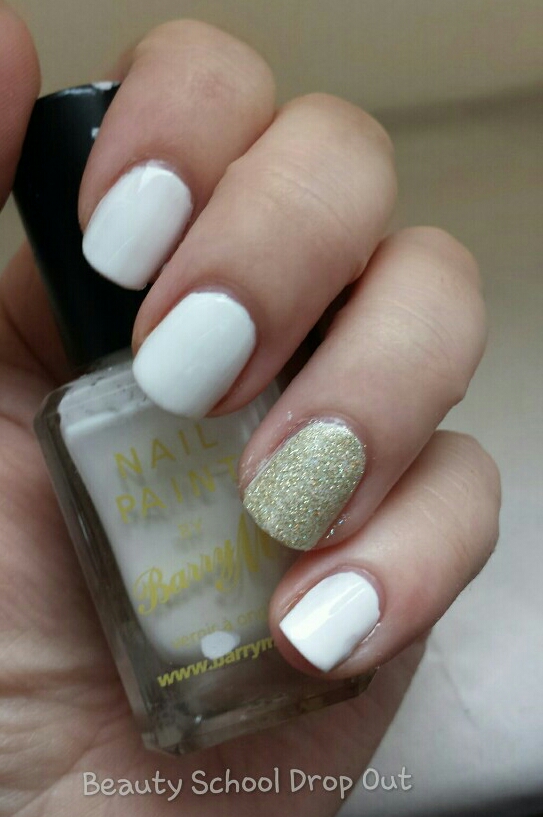
Paint your ring fingers with two coats of white nail polish.

Allow all of the polishes to dry before moving onto the next steps.

image

image

PART TWO – THE DETAILS 

Step Five – Eyes

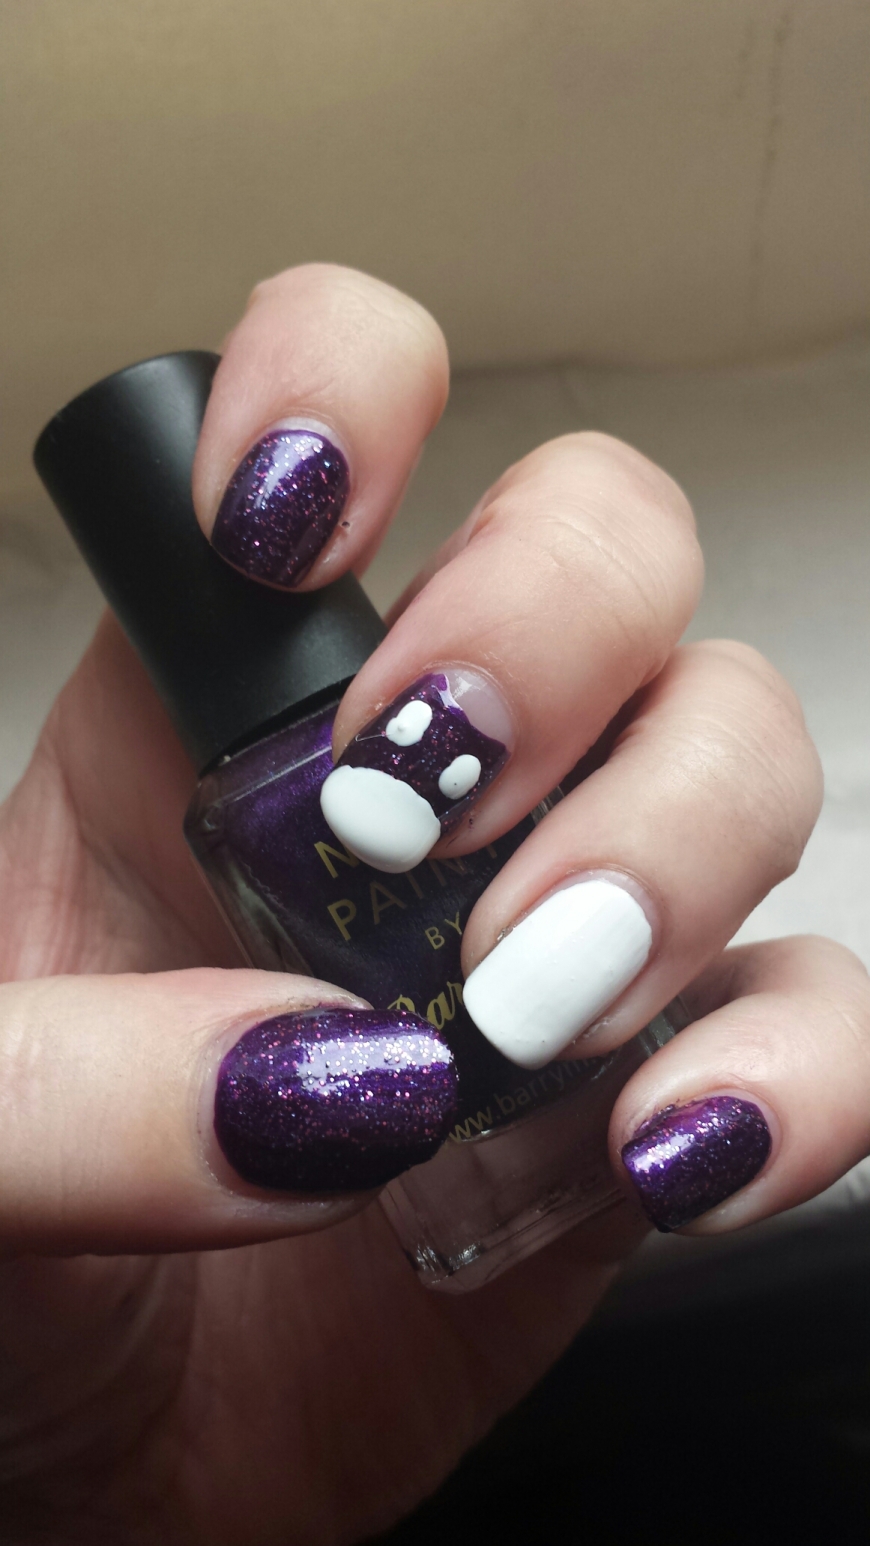
Dab your dotting tool (I used one of the smaller ones) into the white polish and place a dot just below each ‘ear’ on your nails.

image

Once the white polish is dry – place a smaller black dot towards the bottom of the white dot.

Step Six – Body 

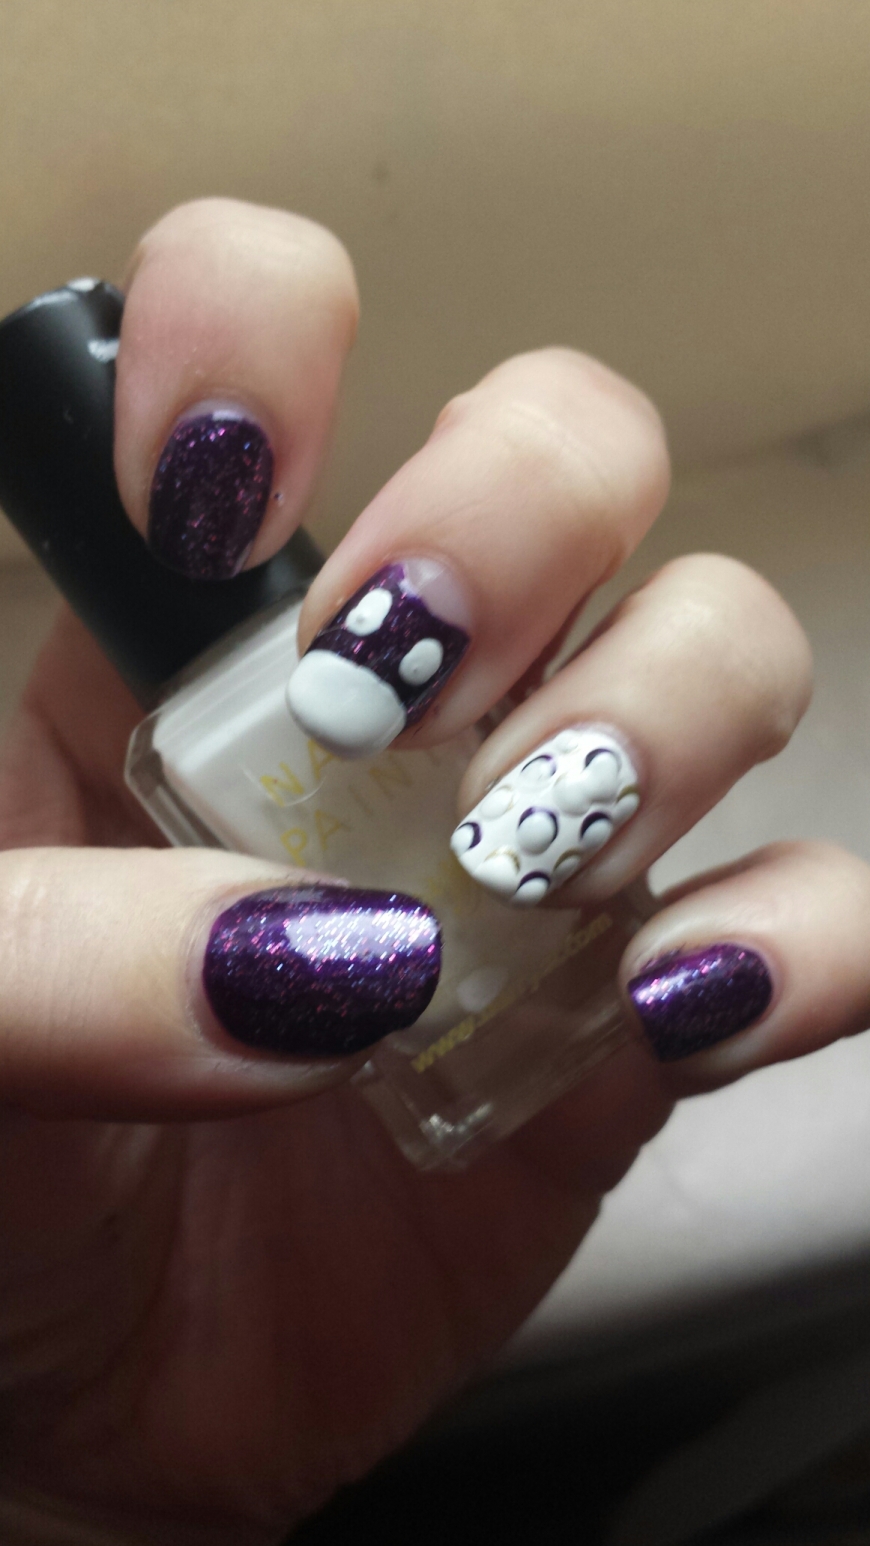
Starting just below the eyes, paint an oval shape cover the rest of the nail and repeat on the other hand.

image

Add a gold triangle in the centre of your white arc shape to create your beak. Once it is dry draw around the outside of the triangle with a black nail art pen.

Once the white is dry, place small gold dots all across the body area. Once they are dry go over the top with white dots, leaving some of the gold showing. This creates your owls markings.

image

Step Seven – Ring fingers

On your ring fingers paint alternating purple and gold dots using your dotter.

image

Once this is dry go over your dots with white polish, making sure to leave some of the colour dot uncovered. This is supposed to emulate the markings on the owls body.

image

Step Eight 

Finish off with a nice shiny top coat.

This isn’t a quick and easy nail art to do, you will need lots of time and lots of patience as it is important to let your polishes dry properly before moving onto the next step. However, I absolutely love it! I’m going to make sure I put a new coat of top coat on every day, to prolong the life of my manicure!


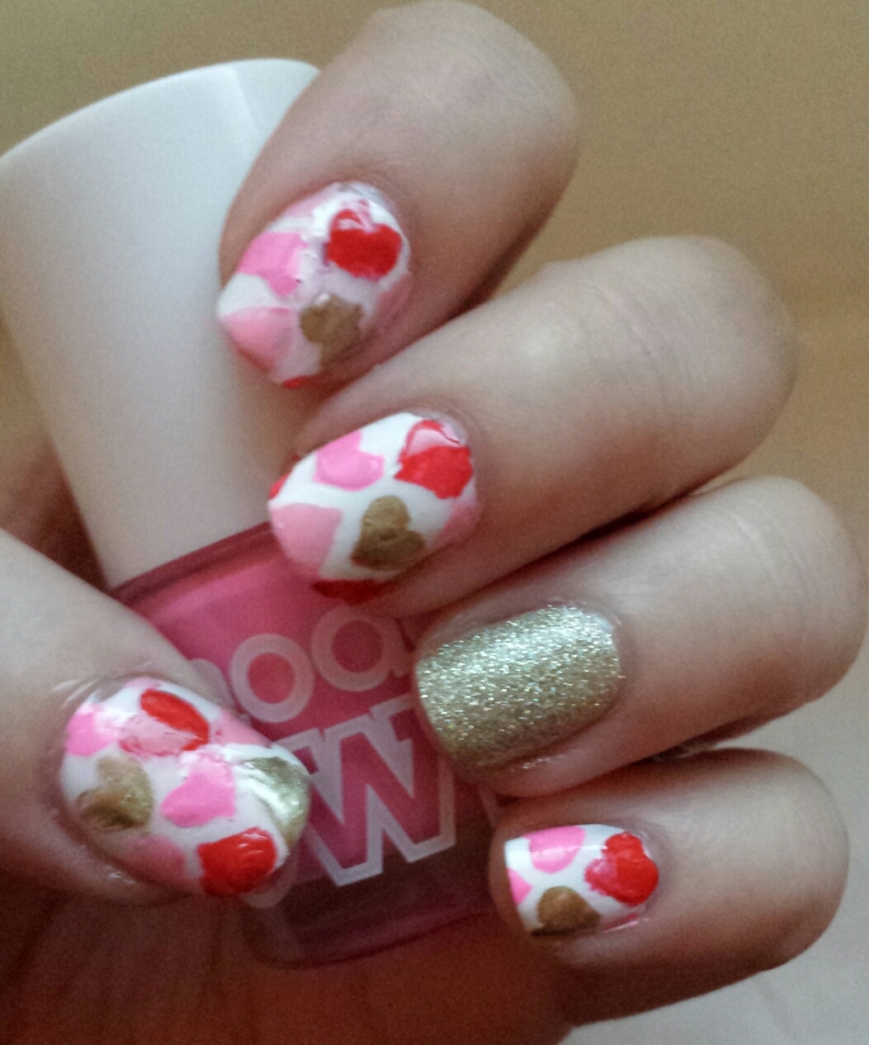
Valentines Day Nail Art

image

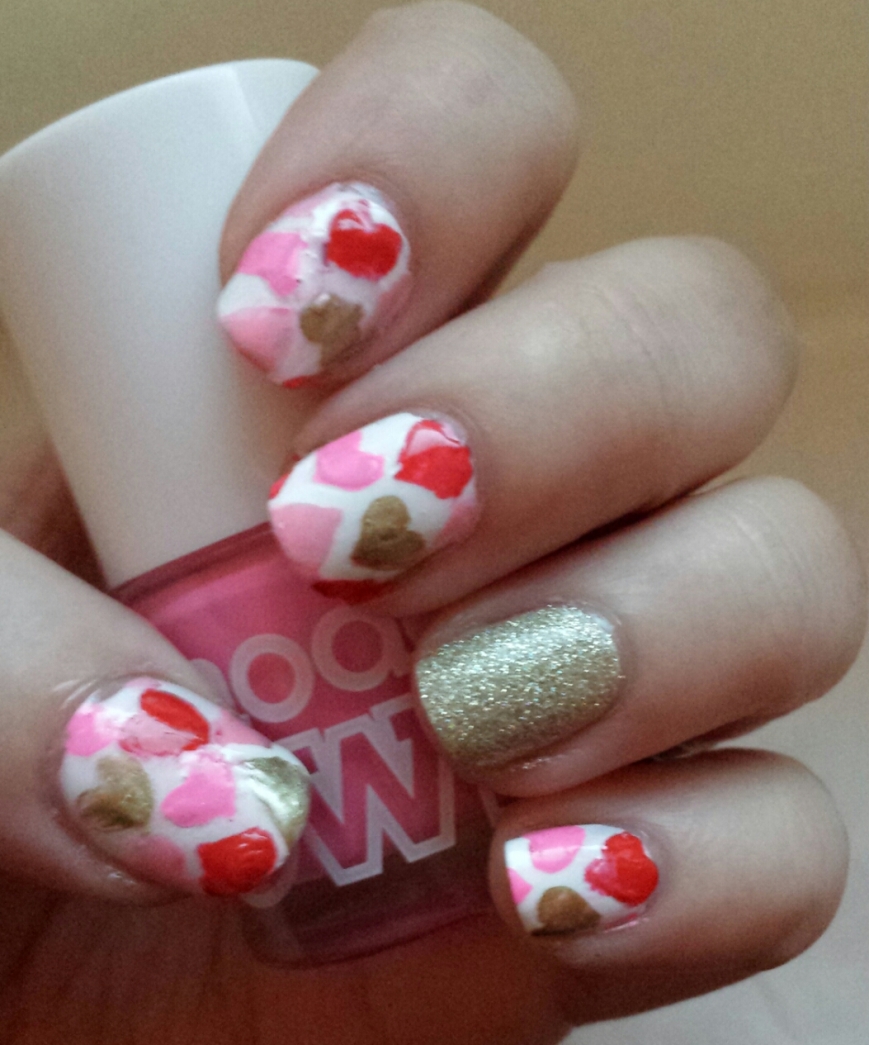
I just don’t seem to be getting enough time to spend doing my nails recently but I have no idea why. The days just seem to run away and I have no spare time. Anyway, I decided to set aside some time today to do this Valentines Day nail art.

I usually paint everything by handed, but I cheated a little bit today and used nail vinyl. It does make the process a lot quicker, but you still have to make sure that the base nail polish is completely dry before using the nail vinyl.

You will need:

  • Basecoat
  • White nail polish
  • Gold glitter polish
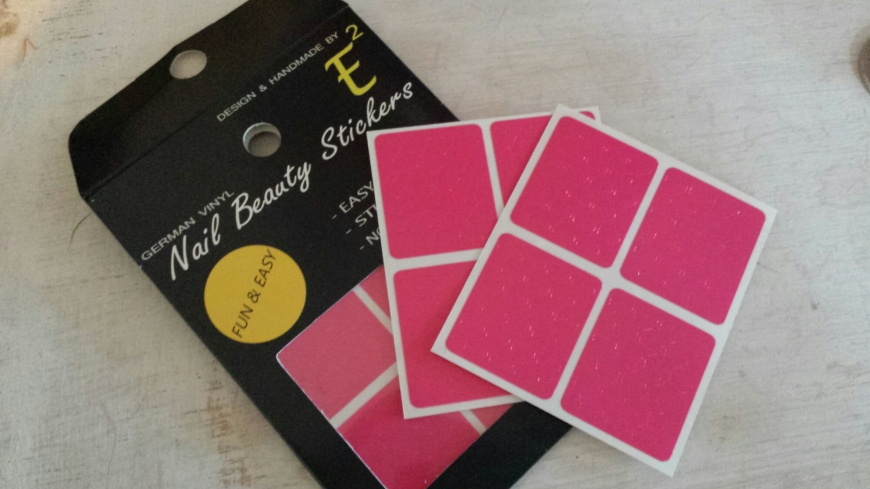
  • Heart shaped nail vinyl
  • Red nail polish
  • Light pink nail polish
  • Dark pink nail polish
  • Gold nail polish
  • Topcoat

Step One

Cut and file your nails to the desired shape and length, unfortunately I broke one of my long nails yesterday trying to cram things into the freezer so I had to cut them all down short. I feel like this would have looked much better with longer nails.

Step Two 

Apply a base coat, this will help to strengthen your nails and stop them from staining.

Step Three

Apply two coats of white polish to all of your nails. You could miss out the ring fingers if you like but I like to paint these too. I have used Matt White by Barry M.

Step Four 

Apply two coats of gold polish to your right fingers. I have applied this over the white to help the gold to stand out more. Allow all of the polish to dry completely. I have used                     by Nails Inc.
image

Step Five 

image

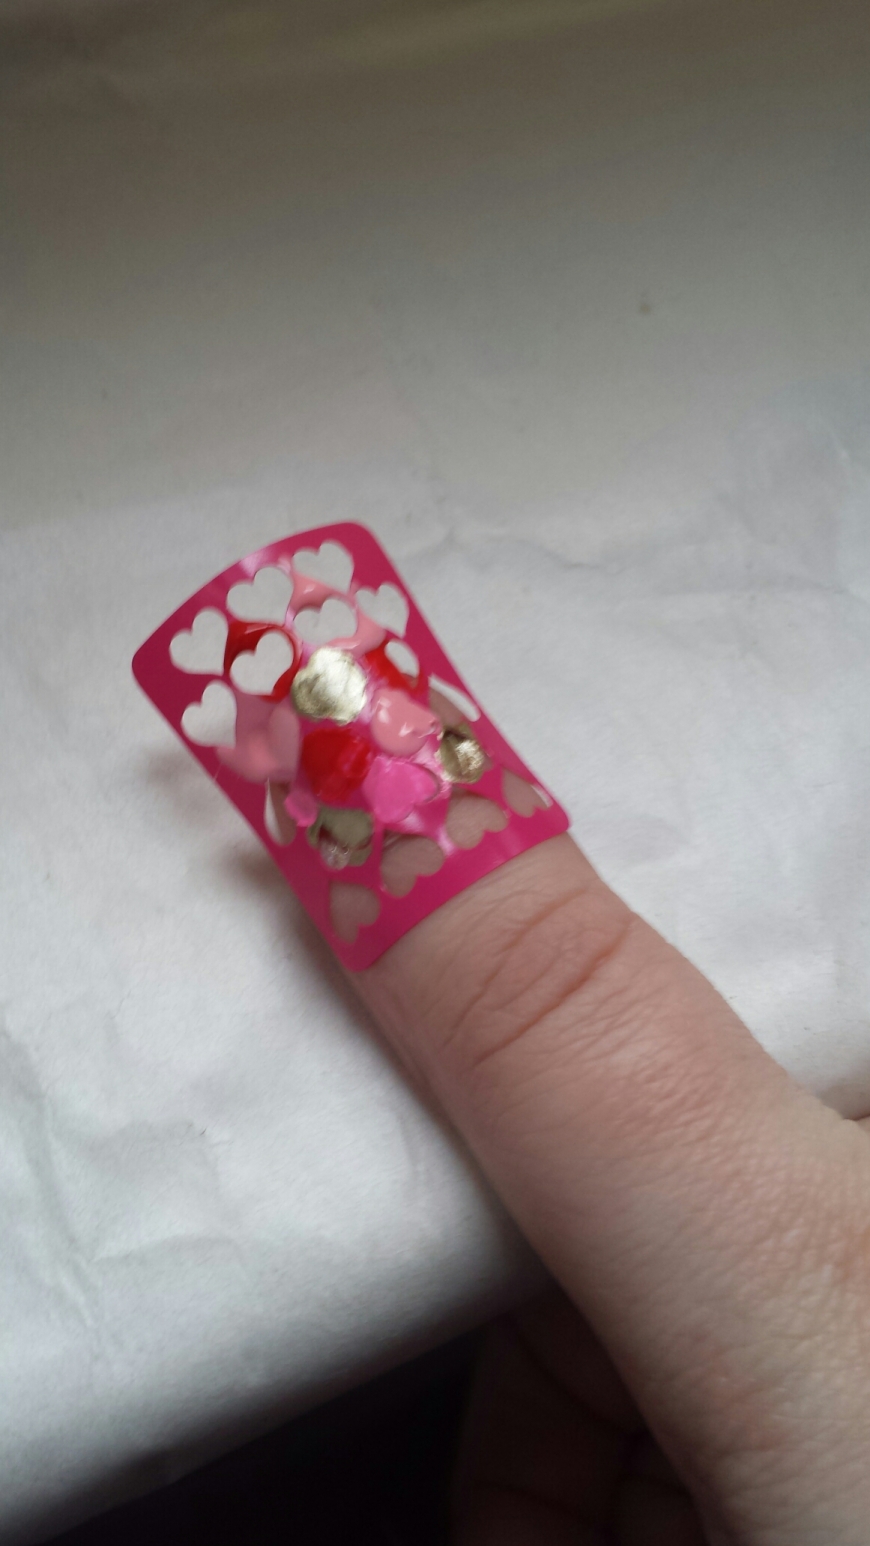
When your polish is dry, peel your vinyl off of the backing and applying it to the nail. I like to put it on my skin before it goes on the nail to remove some of the stickiness.

Step Six 

Using a fine brush and your chosen fill in your hearts. If you like you can just use one colour or you could do an ombre effect using a make-up sponge, but I am alternating my polishes. I finished painting the nail nail before I go back and peel off the previous vinyl, this gives the polish time to dry but not too much, I find it needs to be somewhere in between.

image

Step Seven 

Finish off with a topcoat. If you are using a red polish, remember to wait a few minutes before applying the topcoat otherwise it will smudge.

image


Triangle and Stripe Nail Art

image

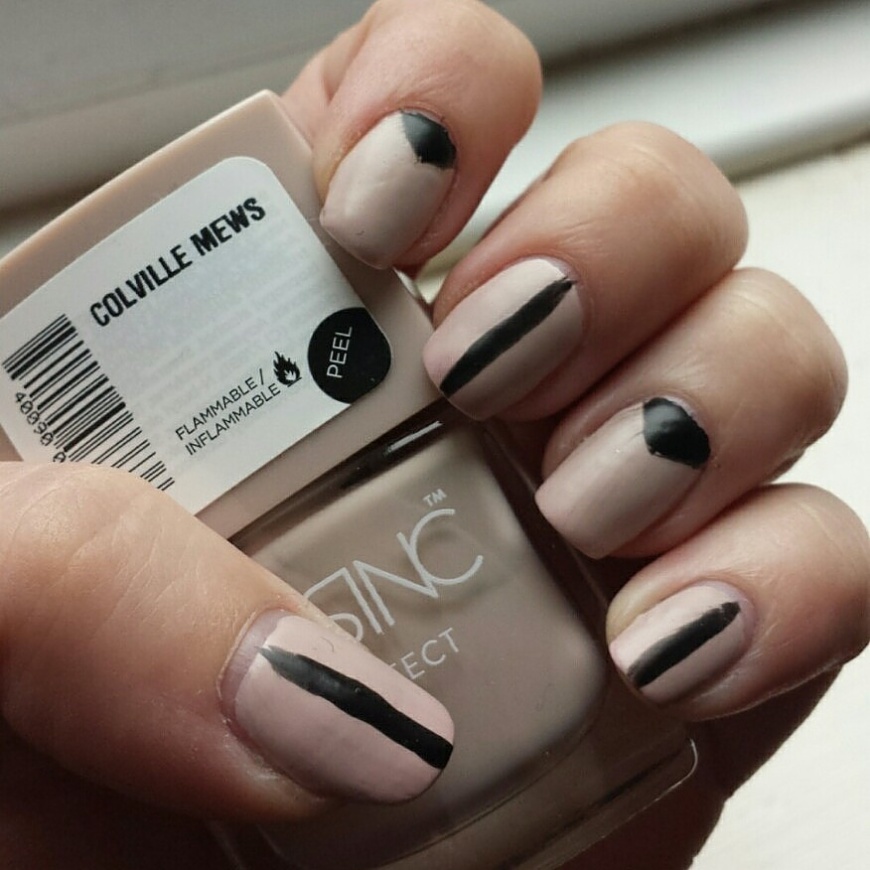
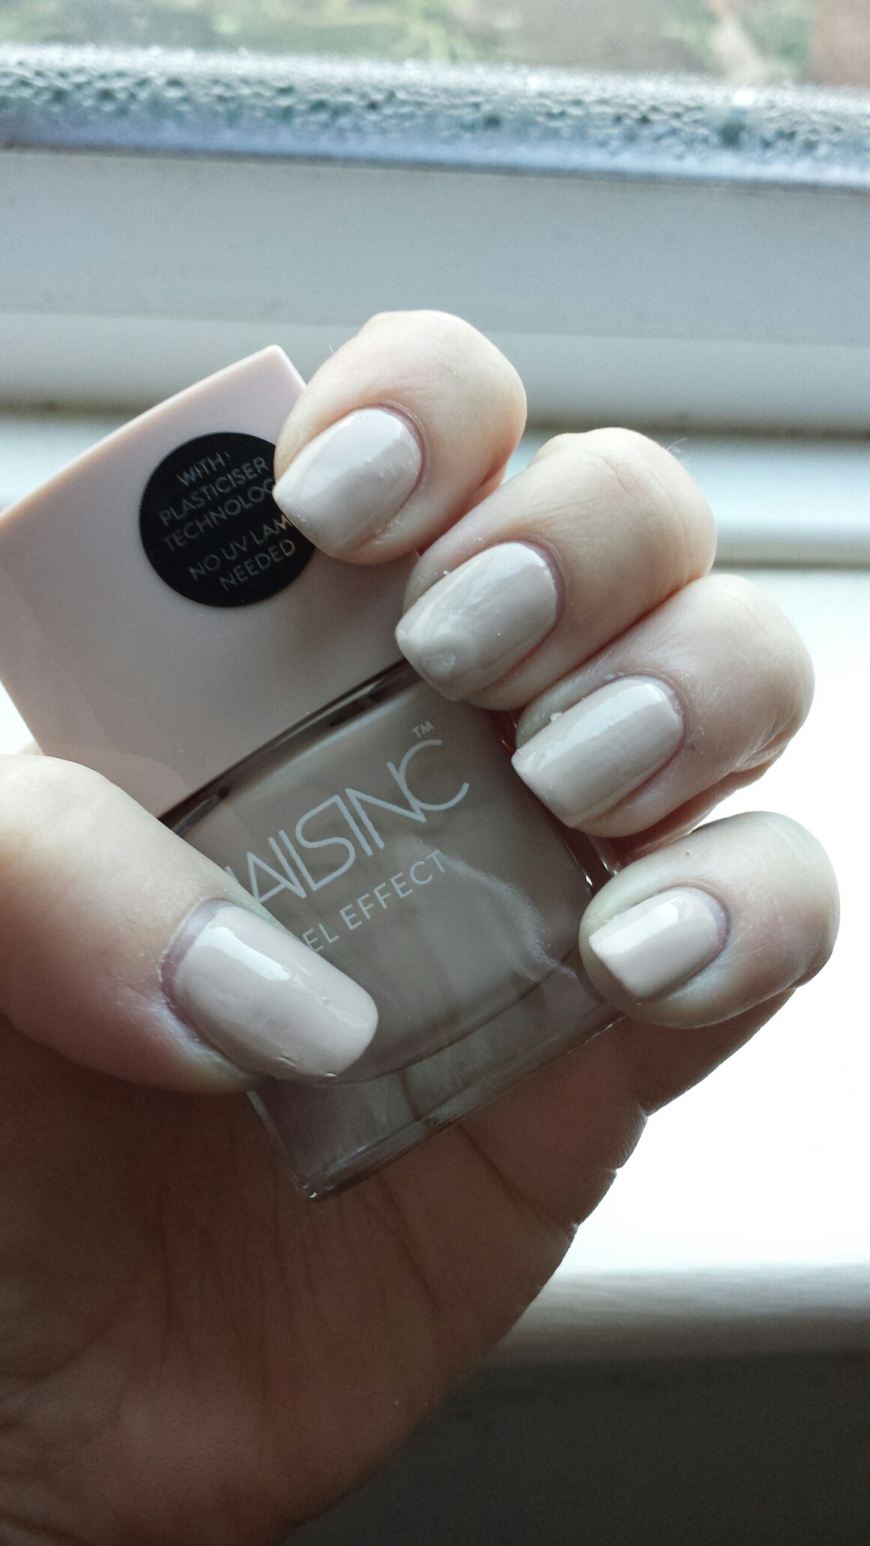
In this months Love Me Beauty box, was this gorgeous cream/nude nail polish from Nails Inc. After swatching the colour, I decided to create this super simple nail art. I do get bored of having plain nails, so I just had to jazz it up a bit!

Step One 

Start with a base coat to help strenghten your nails and to make sure that your polish doesn’t stain your nails.

Step Two 

Apply two coats of your nude polish. I have using Colville Mews by Nails Inc.

Allow the polish to dry completely.

image

Step Three 

You will need a black nail polish and a thin nail art brush.

With your brush lightly coated in black polish draw a nice straight think black line on your thumb, middle and little finger. I find it better to draw the line quickly. as it gives you less time to wobble and over think it. Start with a thin line and build it up gradually by going over the line a couple of times.

Repeat the process on the opposite hand.

Step Four 

Next you will need to create triangles on your index and ring fingers.

You can use tape for this if you are not confident at creating an even triangle or you can do what I did. Start by marking the corners of your triangle with a small black dot at either side of your cuticle. Once you have done this mark a dot in the middle a little higher up. When you are happy that your triangle will be even, join the dots up and then colour them in.

Repeat on the opposite hand.

Step Five 

Finish off your manicure with a coat of matte top coat.

image

This is a very simple manicure, but it looks very effective and I love love love the cream colour. I think I’ll be wearing this for some weddings this year and it will look lovely and clean for the spring.

Beauty School Drop Out xx

Nails Inc Night Skies Swatch

You may remember that I purchased the Nails Inc Alexa Collection in the Black Friday sale in November. I have only just got around to using some of these polishes and I wanted to share a swatch of Night Skies, which is a beautiful navy blue polish.

image

This swatch is painted without using a top coat as mine seems to have gone missing. But, you will notice that it is still very shiny, even without a topcoat.

The brush is quite short and stubby, which makes this polish extremely easy to paint as helps to create a perfectly straight line at the cuticle.

Overall, I am in love with this polish. I was already a massive fan of Nails Inc as they are always coming up with new and innovative colours and textures.

I have another new polish that I will share with you soon.

Beauty School Drop Out xx

Red and Black Gradient Nails

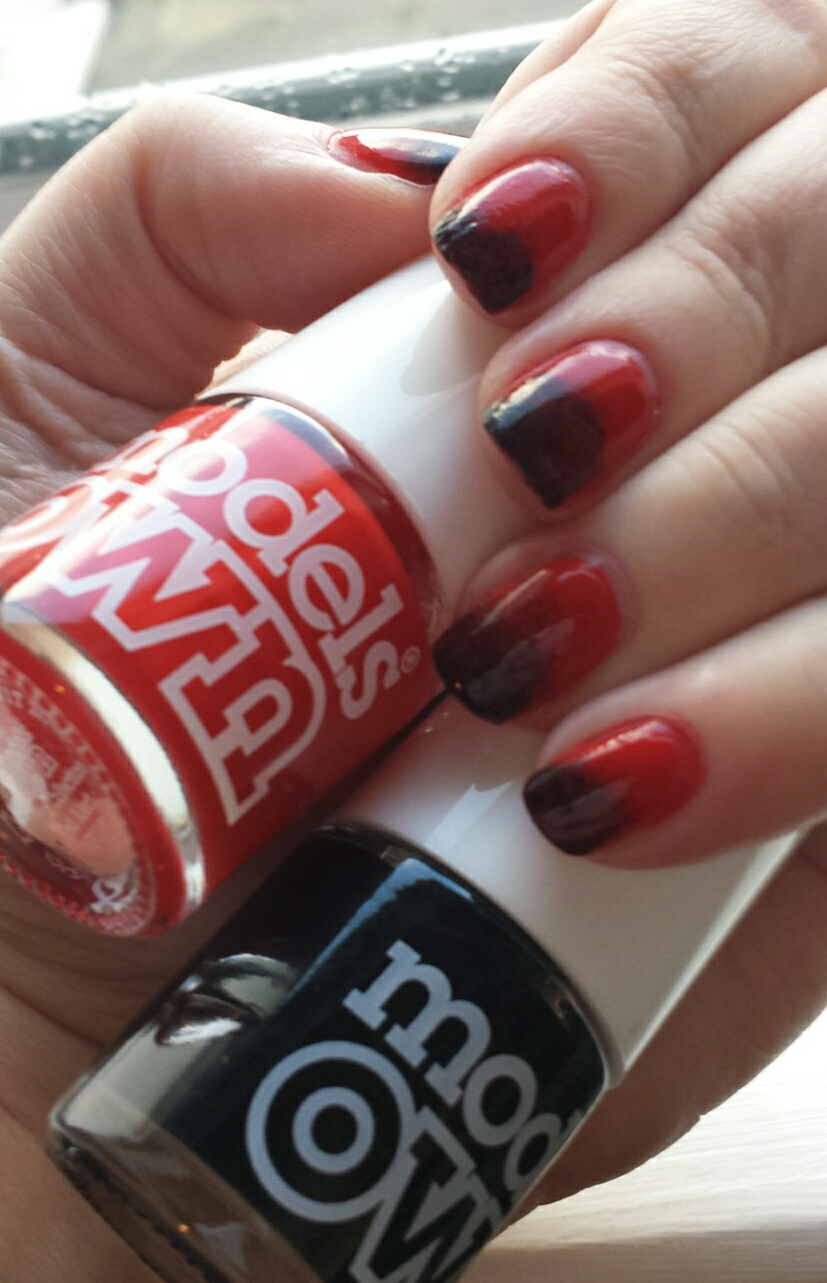
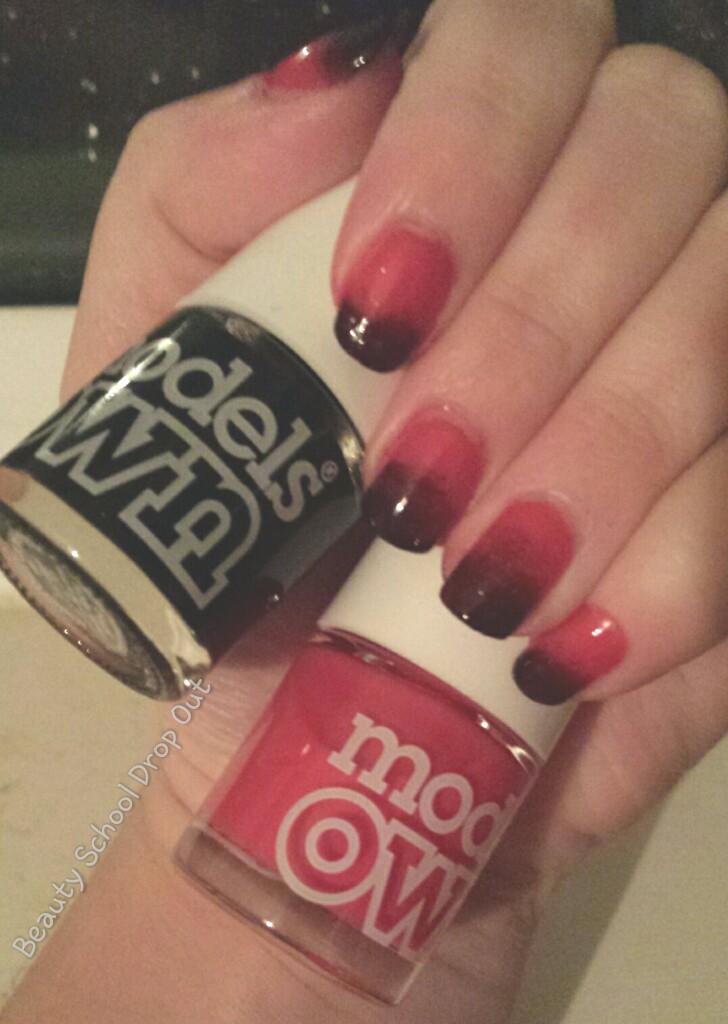
As I mentioned yesterday, I have already used two of the polishes from my new Models Own Best of Collection to design these red and black gradient nails.

image

image

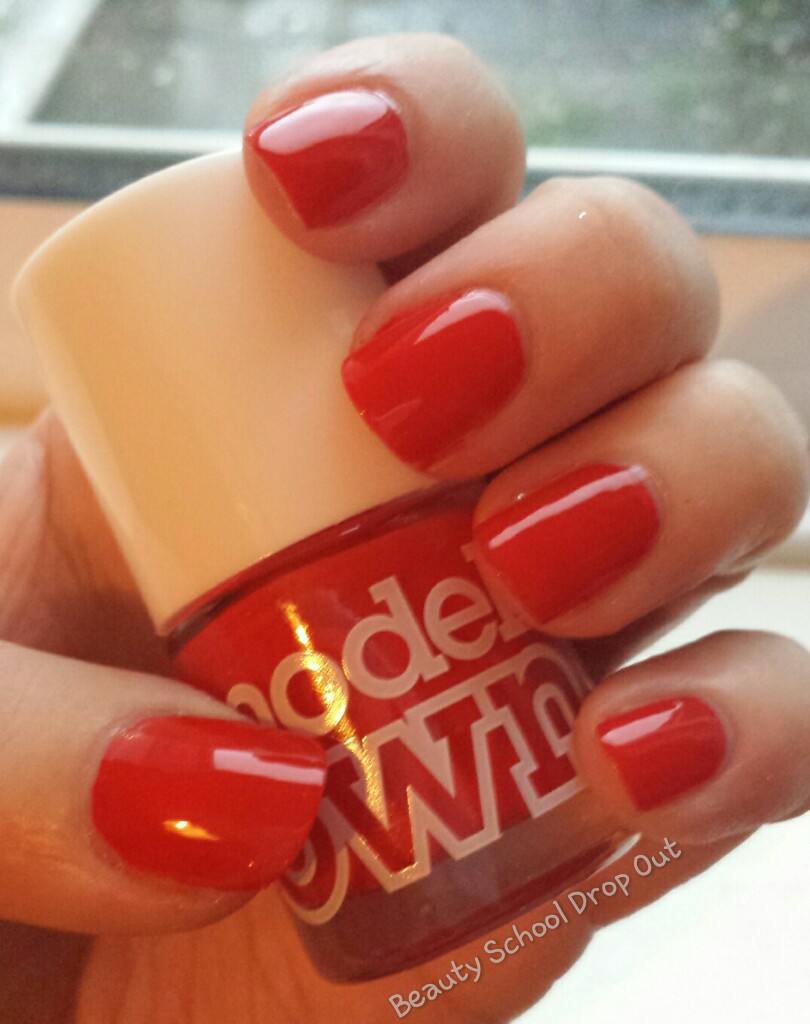
I started off by applying a coat of First Base by Essie onto all of nails and allowed it to dry. This was then followed by two coats of Red Alert. If I’m honest, I didn’t think that these polishes were going to be great, as I am used to spending £8-£10 per nail polish, but the polish went on very smoothly and evenly. The brush was a little wide for my liking but it actually worked really well. The polish also dried reasonably quickly, which is another bonus for these polishes!

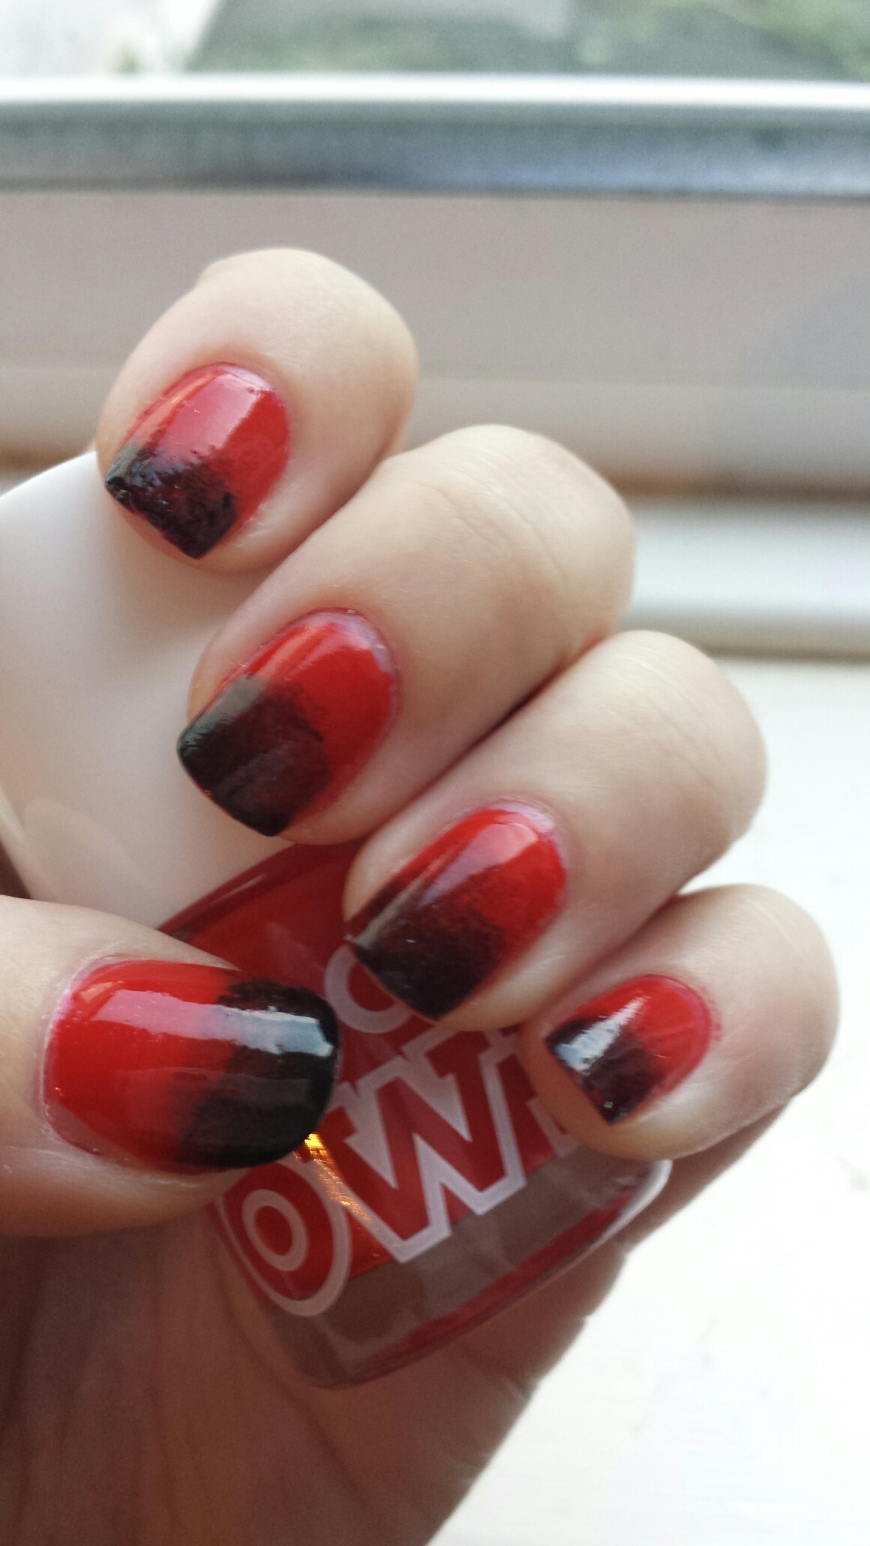
Once the polish had dried, I used a make-up sponge and applied a stripe of Red Alert and a stripe of Black Magic which I then pressed lightly onto the nail, making sure the push it into the sides. I repeated this on all of the nails, building up the colour slightly at the tip, to give a more graduated look.

image

image

I feel like this is the time that I could really do with some mess no more as this is very messy. Unfortunately, I don’t have any at the moment, but it is on order and winging it’s way to me as we speak. So, the clean up will be much easier next time. But, for now I used a cotton bud dipped in nail polish remover to remove the excess polish that got on the skin.

Once I finished cleaning up all the mess, I finished off with a swipe of Good to Go by Essie and nice and shiny top coat.

image

Honestly, I’m not overly pleased with these. I feel like I just can’t get the gradient nails right. If anyone has any tips for me, I would be so grateful. I feel like everyone else makes it looks so simple, but I just can’t get it right. I will persevere though, as it’s something that I really want to master, and I will not give up!

Models Own Best of Collection

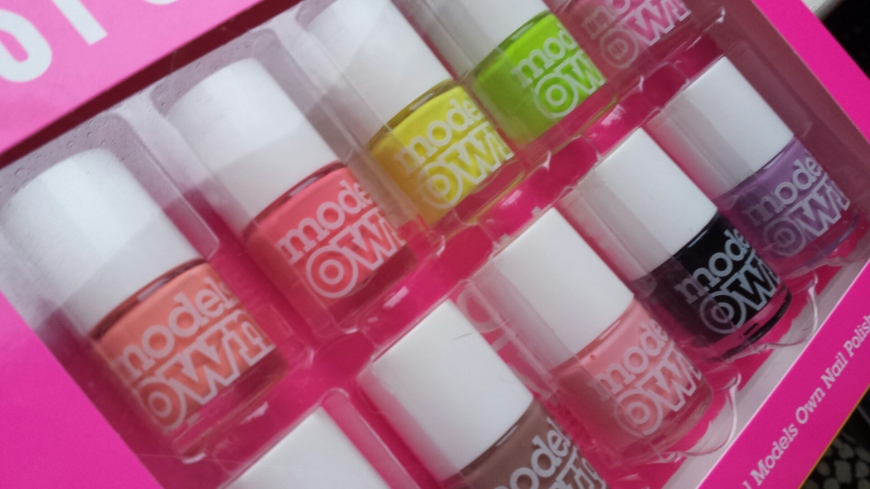
I did a little more sales shopping and stopped by the Models Own Bottle Shop in Festival Place, Basingstoke. While I was there I managed to pick up the Models Own ‘Best of Collection’ which is a gift set of 10 of their most popular polishes, which includes three neon colours, which is what sold the set to me!

image

The usual price is £20 and this was reduced to £10. Considering that they are selling three polishes for ten pounds at the moment and I got ten for the same price means these were an absolute steal!

I’m excited to start swatching these and I have actually used two already, which you can see on my blog tomorrow, so keep your eyes peeled for that!

I also managed to pick up a few other bits while I was there, which will be on the blog soon too!

Beauty School Drop Out xx

Swatch of Covent Garden Place by Nails Inc

image

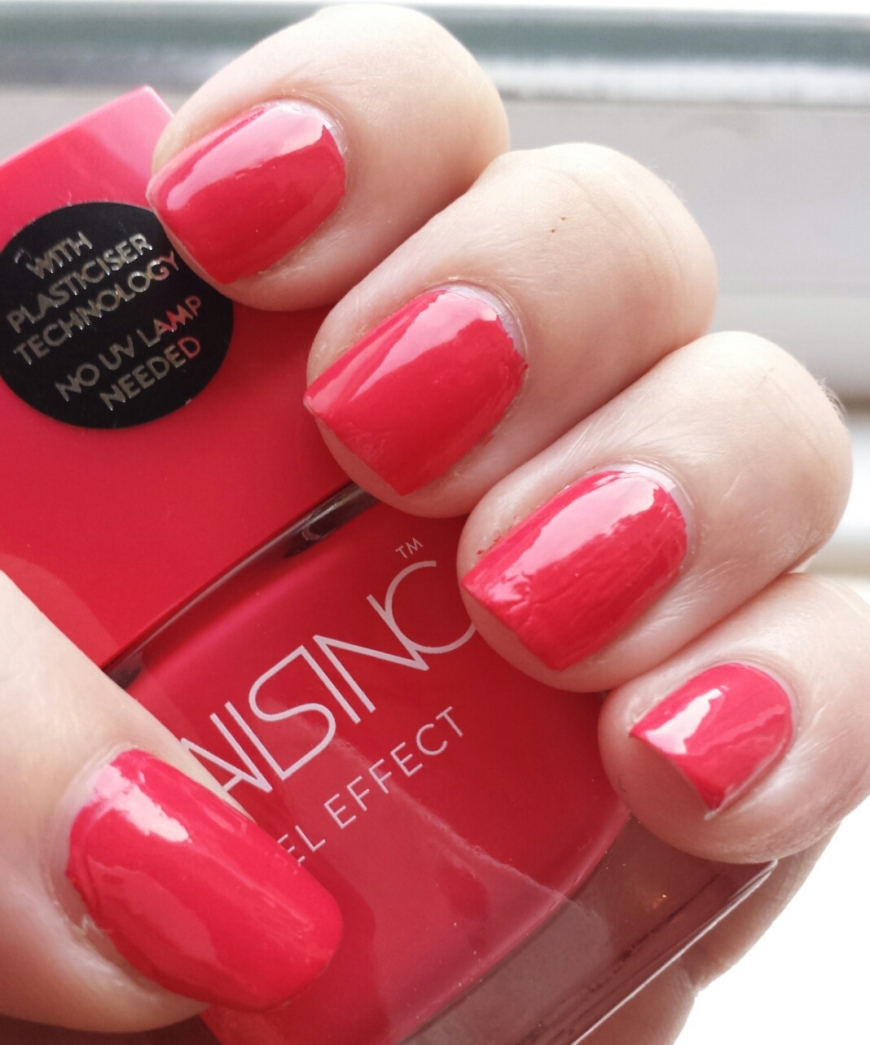
I received this polish in The Gold Box from Latest in Beauty and I painted it onto my nails this week, think that it was a nice festive red colour, I could tell that it wasn’t quite red, but I couldn’t tell exactly what colour it was. It wasn’t until I got outside into the proper daylight that I realised that it’s actually pink! Personally, I don’t enjoy wearing bright pink in the winter, so I have changed it up for something a bit more festive. However, in the summer this colour will be perfect and I look forward to using it again.

Beauty School Drop Out

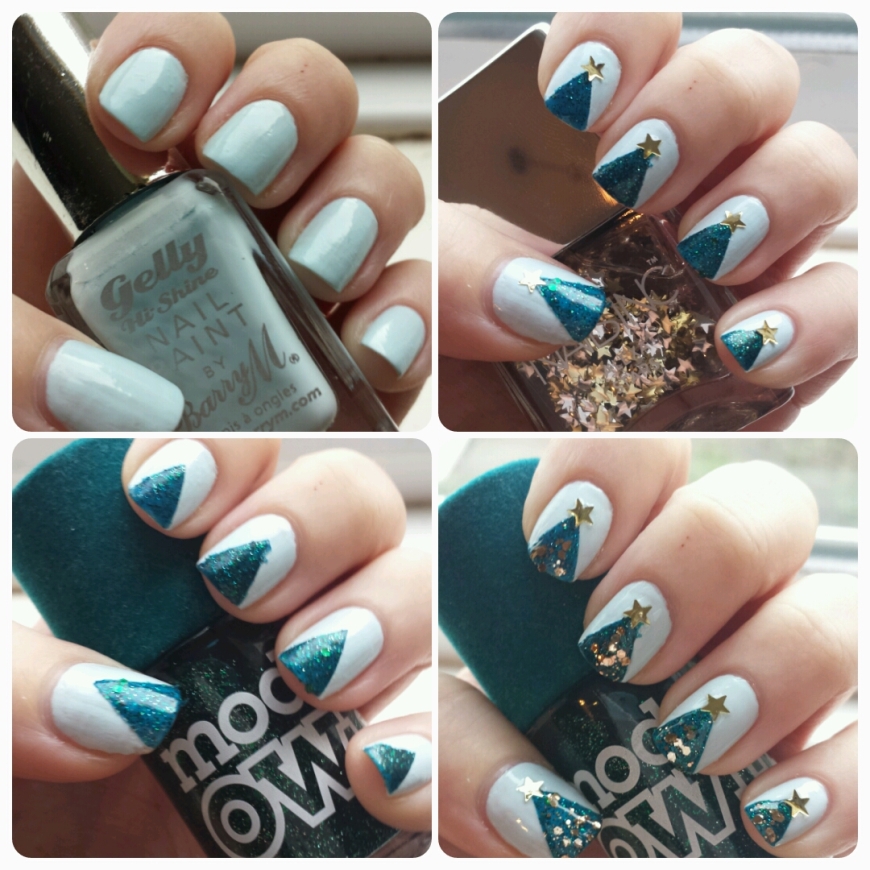
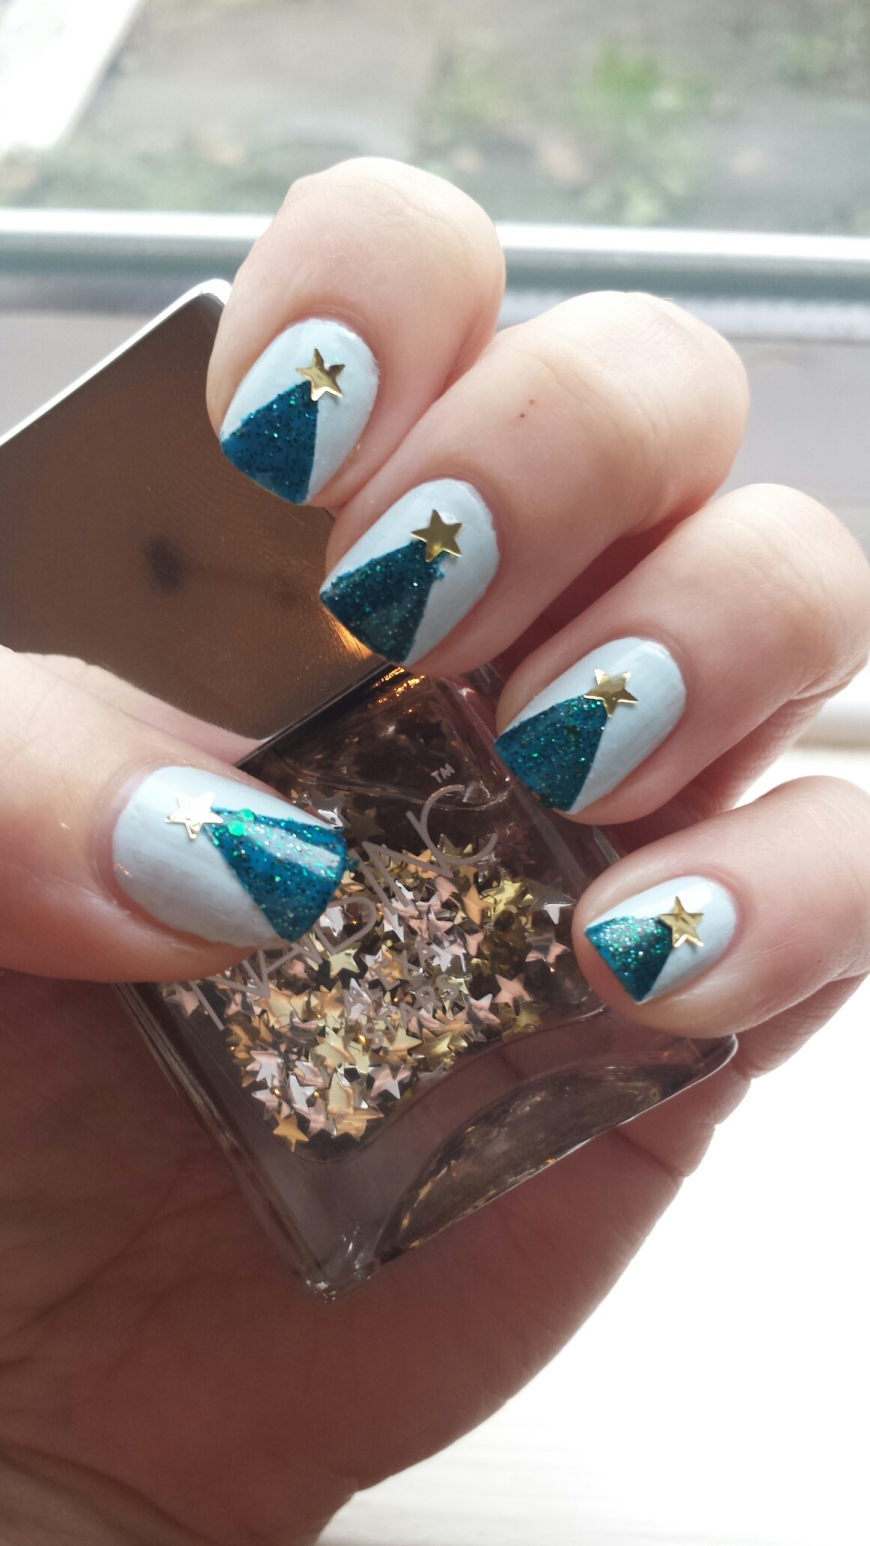
Christmas Tree Nails

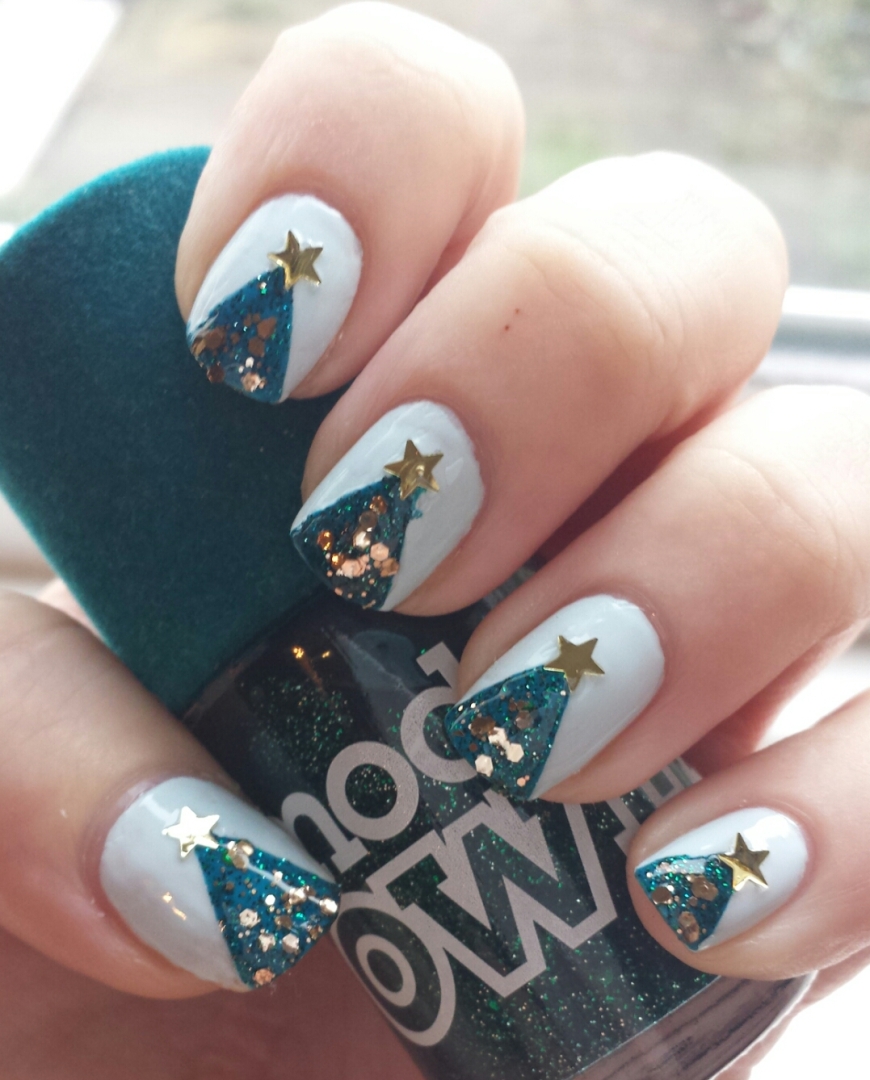
Today is Christmas jumper day in aid of Text Santa and I will be sporting a Christmas tree jumper. So, I thought I would design some Christmas tree nails to match!

image

Here is my Christmas jumper.

image

These are simple, but you need lots of time available for letting sections dry. If you are stuck for time, you can do what I do and do one stage a day.

image

You will need:

  • Base coat
  • Pale blue nail polish
  • Selotape
  • Green nail polish
  • Gold stars
  • Glitter polish
  • Nail art dotter
  • Topcoat

Step One 

Apply a sweep of basecoat to each nail. As usual I am using First Base by Essie which is my favourite, as I change my nail polish at least twice a week sometimes and I have had no staining at all since using it.

Step Two 

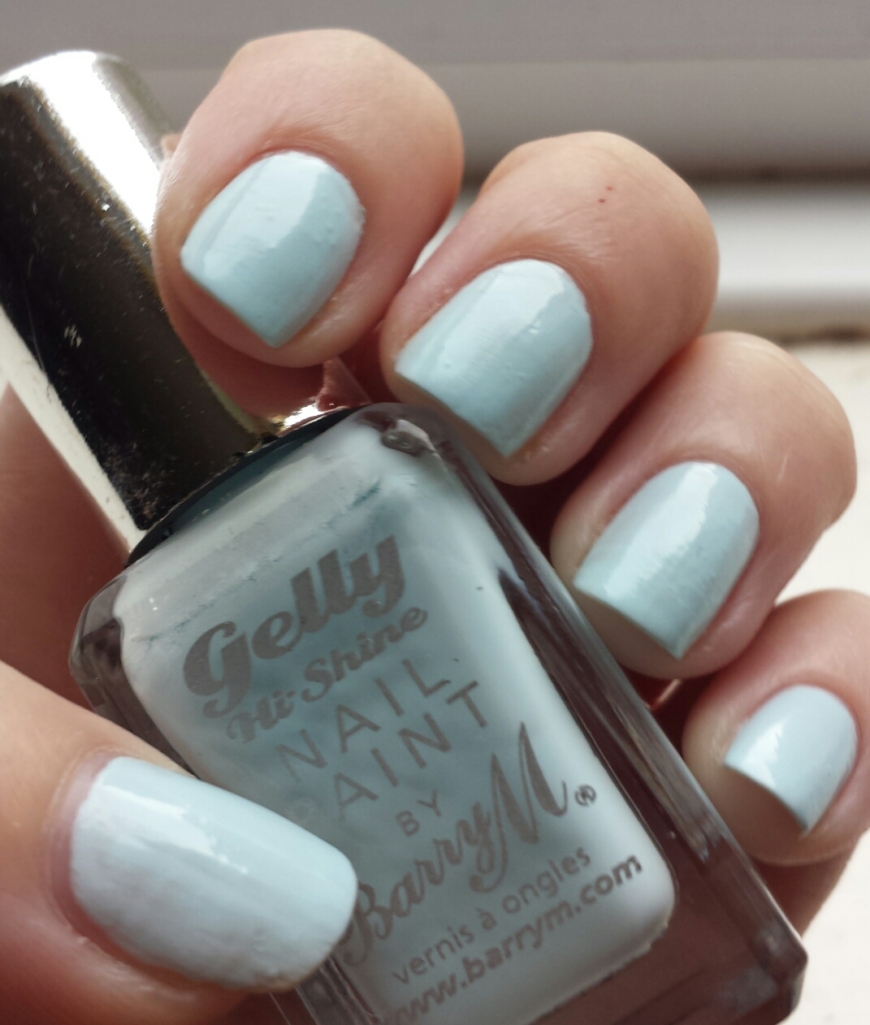
For the background colour I have decided to use a pale blue polish, but you could use any colour you like. It would like great on a white background, nude or even red. Apply two coats of your chosen polish and allow to dry completely. I left it to dry over night. I have used Barry M Gelly in Huckleberry.

image

Step Three 

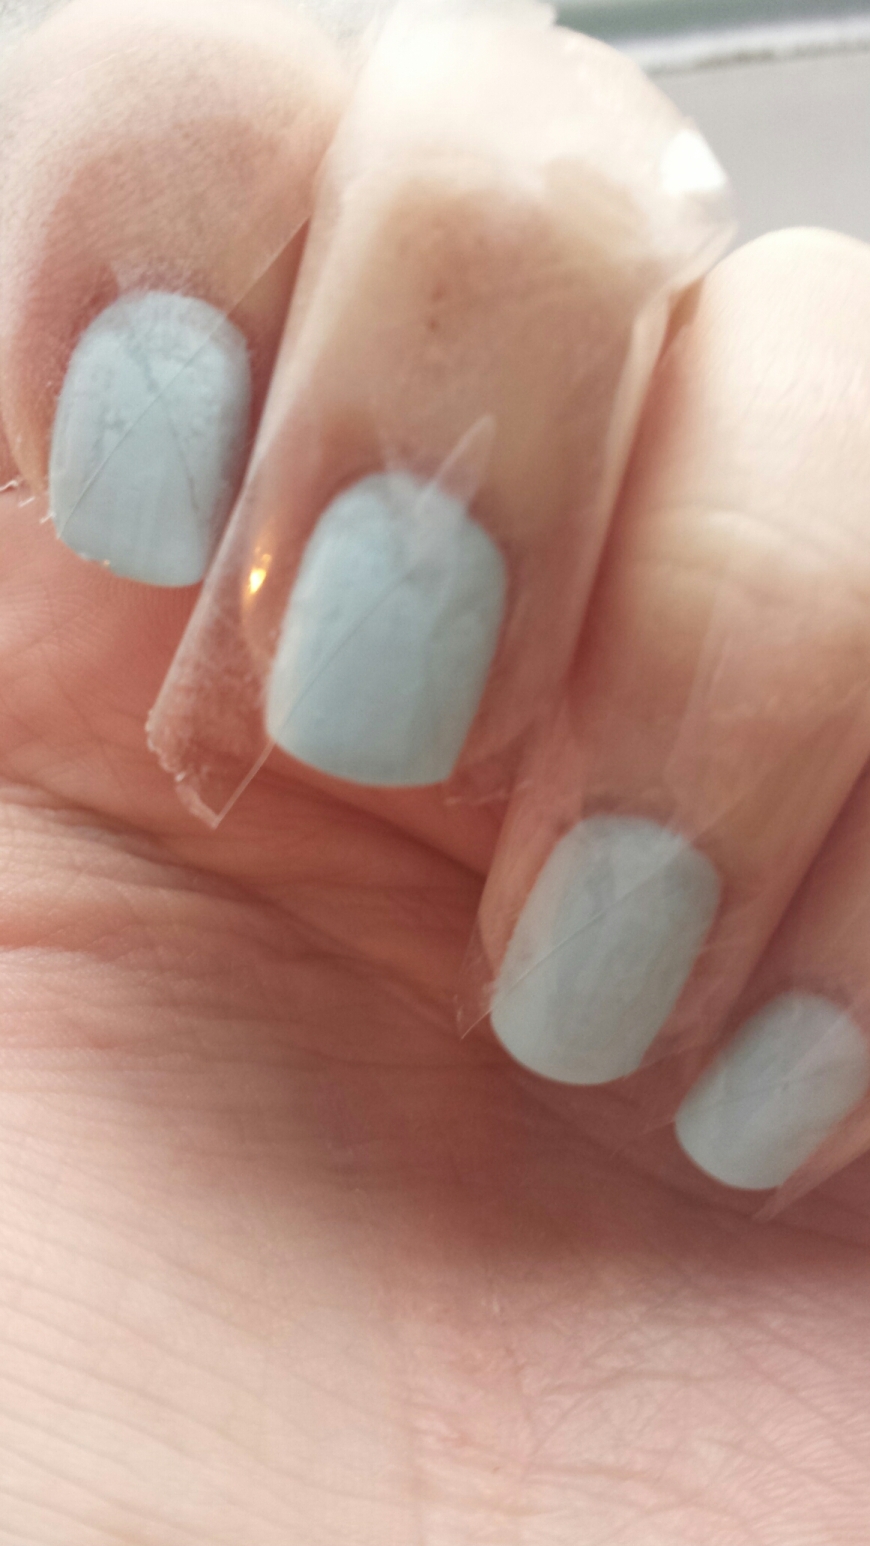
You will need selotape for this step. I find it is easier to use one on a dispenser to save you from messing around with scissors, but of course if you don’t have a dispenser you can cut small pieces of tape.

You will need ten small pieces of tape per hand which I then put on the back of my hand to remove some of the stickiness.

Next, you need to place two pieces of tape onto each nail to form a triangle shape, with the point towards the cuticle.

image

Step Four 

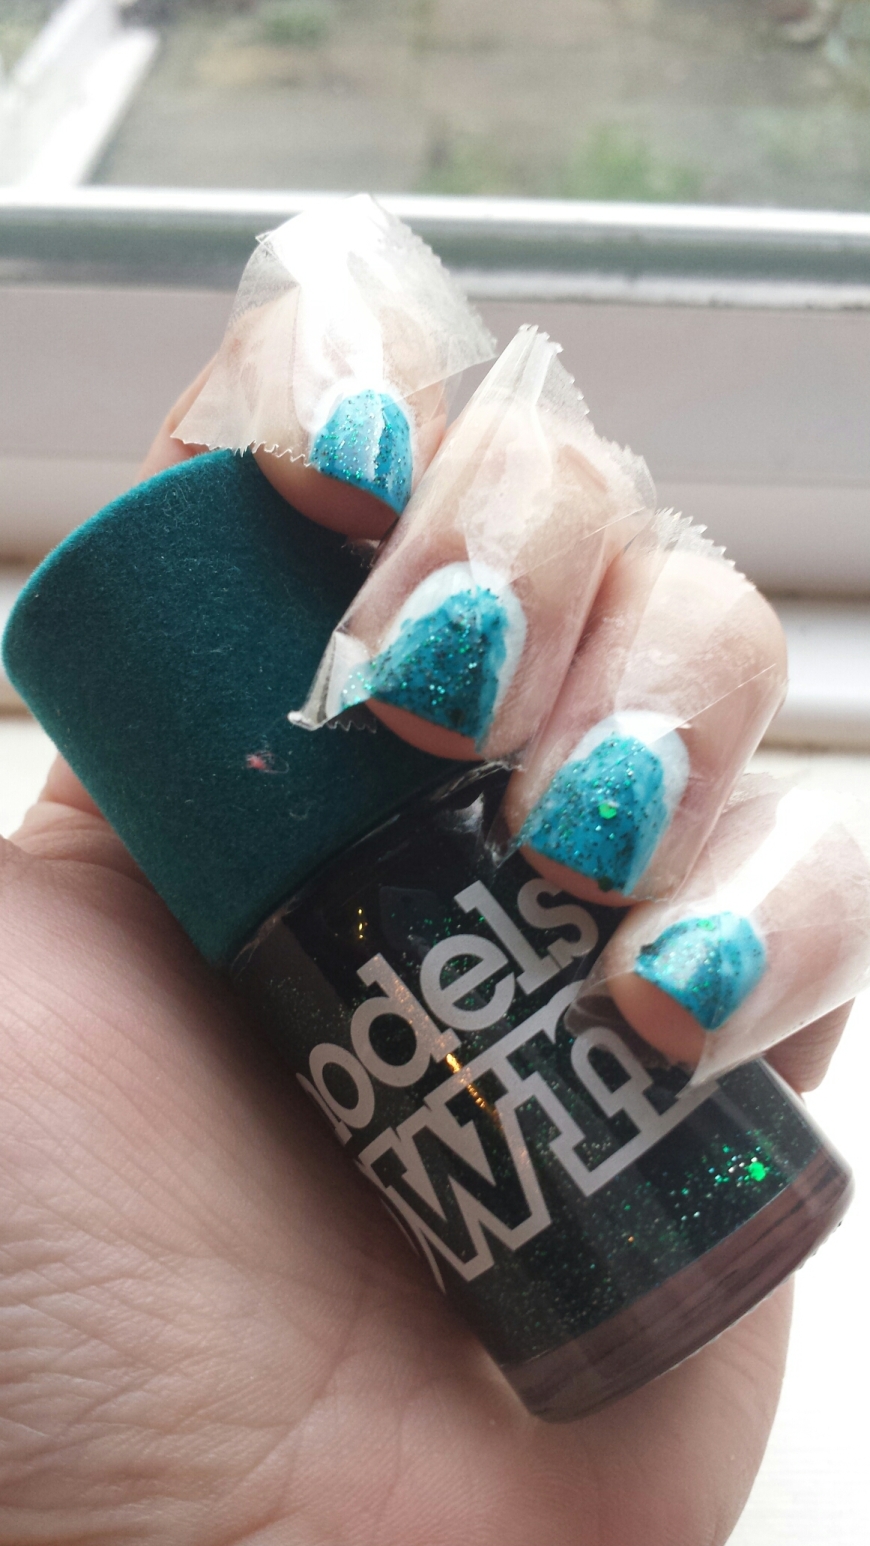
Using your green nail polish, paint two very thin coats of polish over the selotape triangles and allow to dry completely before removing the tape. I have used the gorgeous Models Own polish in Absinthe which is such a lovely colour.

image

Once the polish is dry remove the tape slowly to reveal your triangle shaped Christmas trees.

image

Step Five 

Next you will need some stars. I am using Alexa Stars by Nails Inc but I’m sure you can pick up some nail art stars on eBay. I took a star out on a nail art dotter, which helps to place it in the right area. Try not to move it around too much as it may smudge the polish underneath. If you don’t have stars, you could draw one on with a nail art pen or you could even just use a gold glittery dot.

image

Step Six 

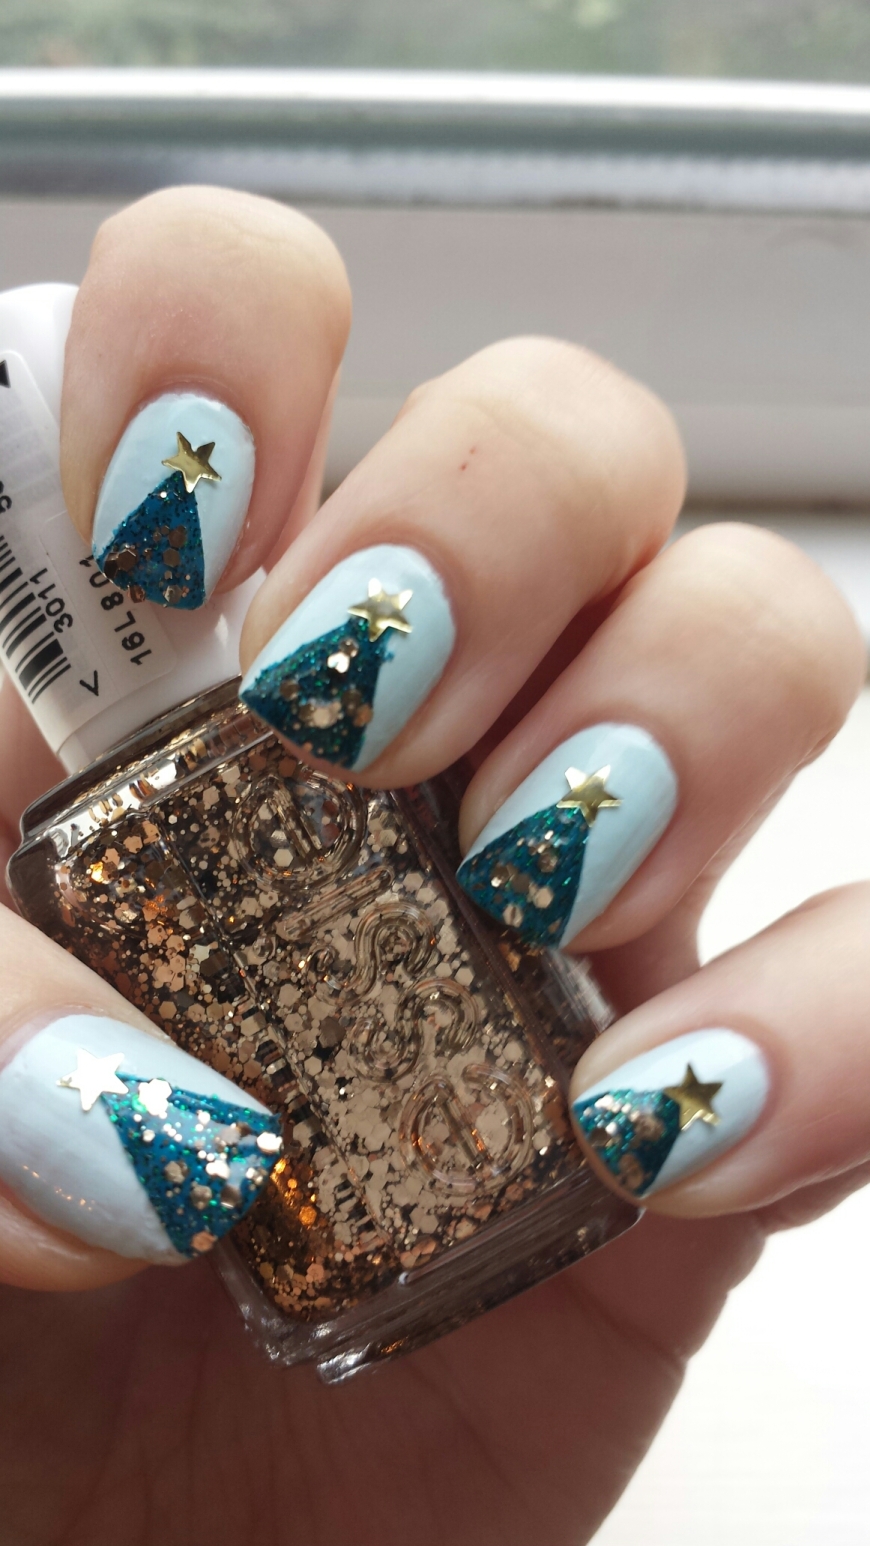
This last step is optional, obviously if you don’t like how it looks, you can skip it. I decided to use a chunky gold glitter to give the effect of baubles and Christmas lights. I used Summit of Style by Essie and applied it using a nail art dotter, so that you can apply the large glitter particles exactly where you want them.

image

Step Seven

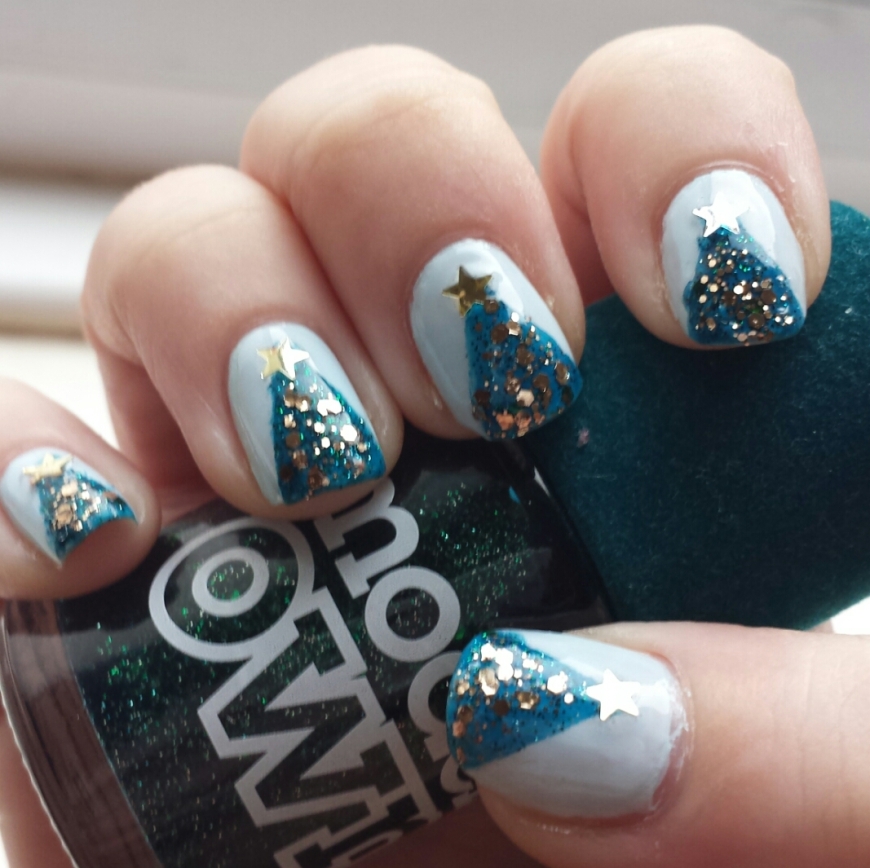
Finish off the manicure with a coat of topcoat to lock it all in place and to help prevent chipping.

image

I realise that it quite a lot of steps for a manicure that I said was simple, but it is really worth it as the final product is so effective!

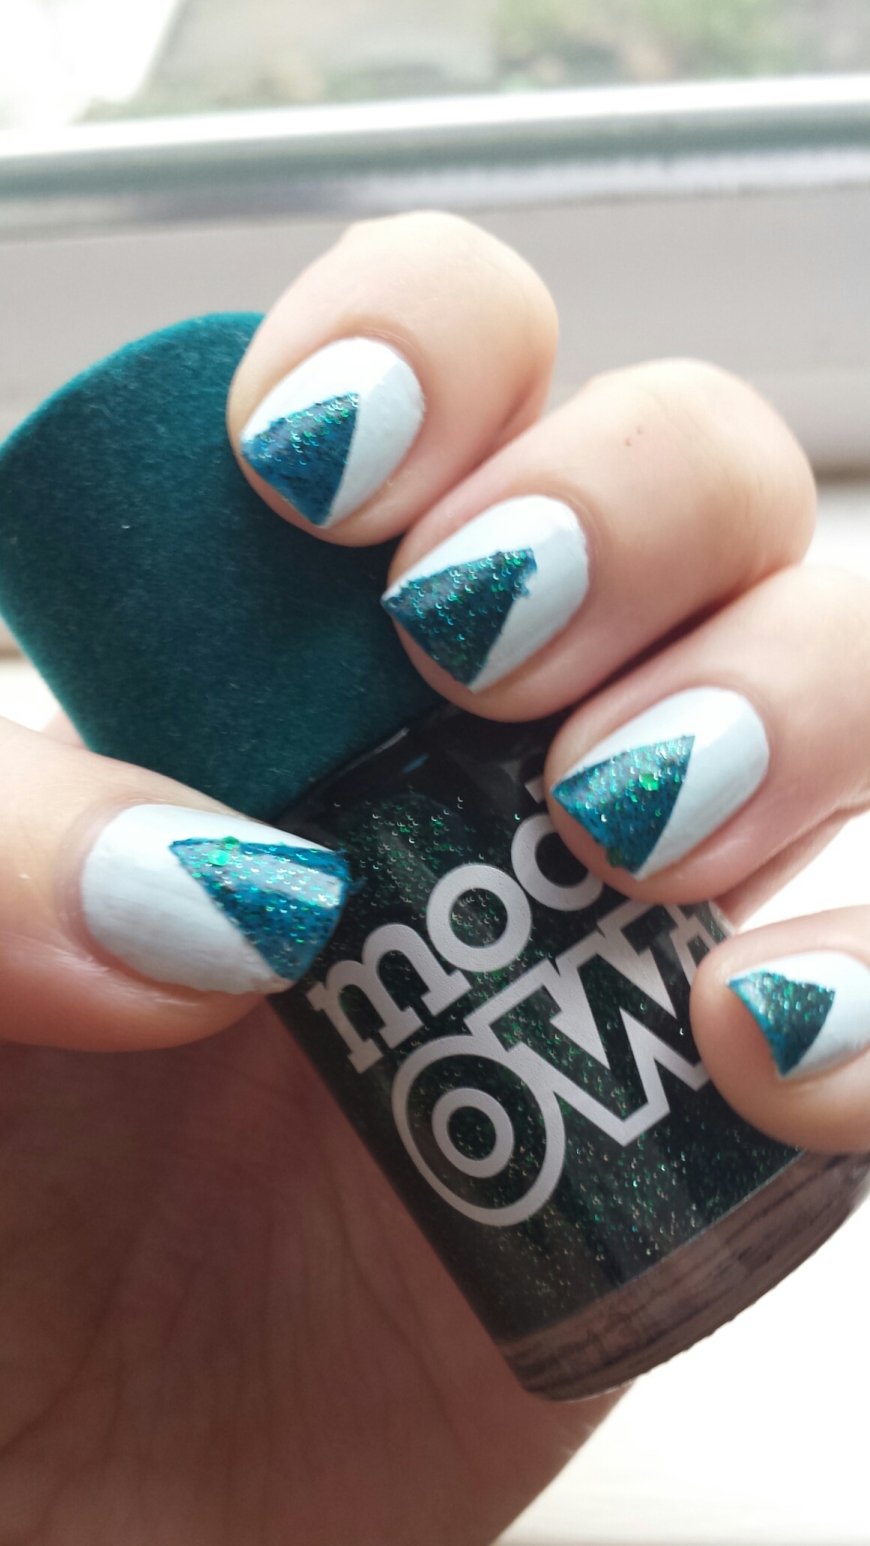
I often get asked if I do my right hand and I can confirm that I most definitely do. My right hand doesn’t always look as good as the left, but I do like to make sure I have a fully finished manicure! So, here is a picture of my right hand.
image

I hope everyone else is getting involved in Christmas jumper day too!

Beauty School Drop Out xx

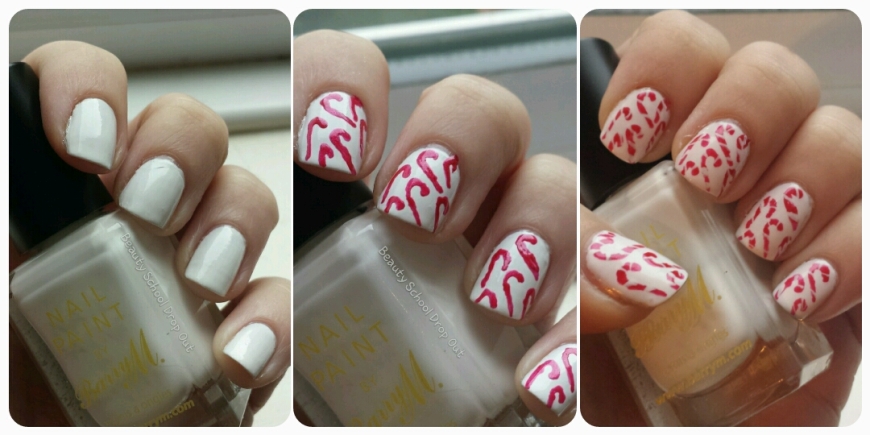
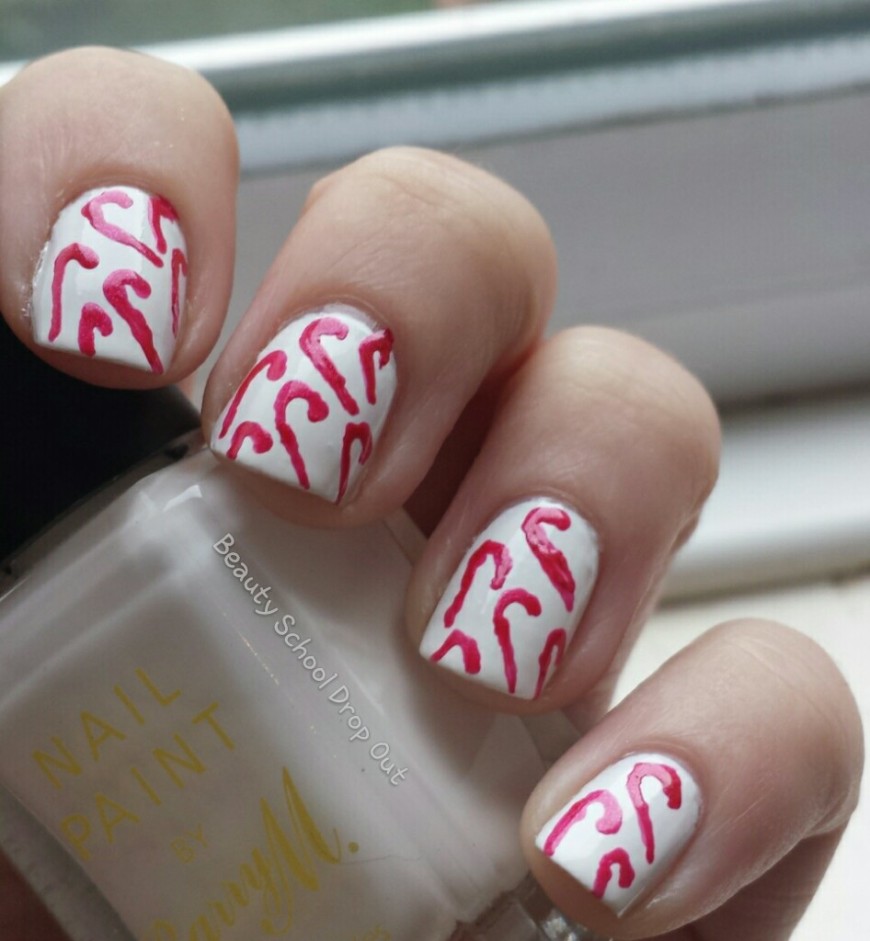
Mini candy cane nails

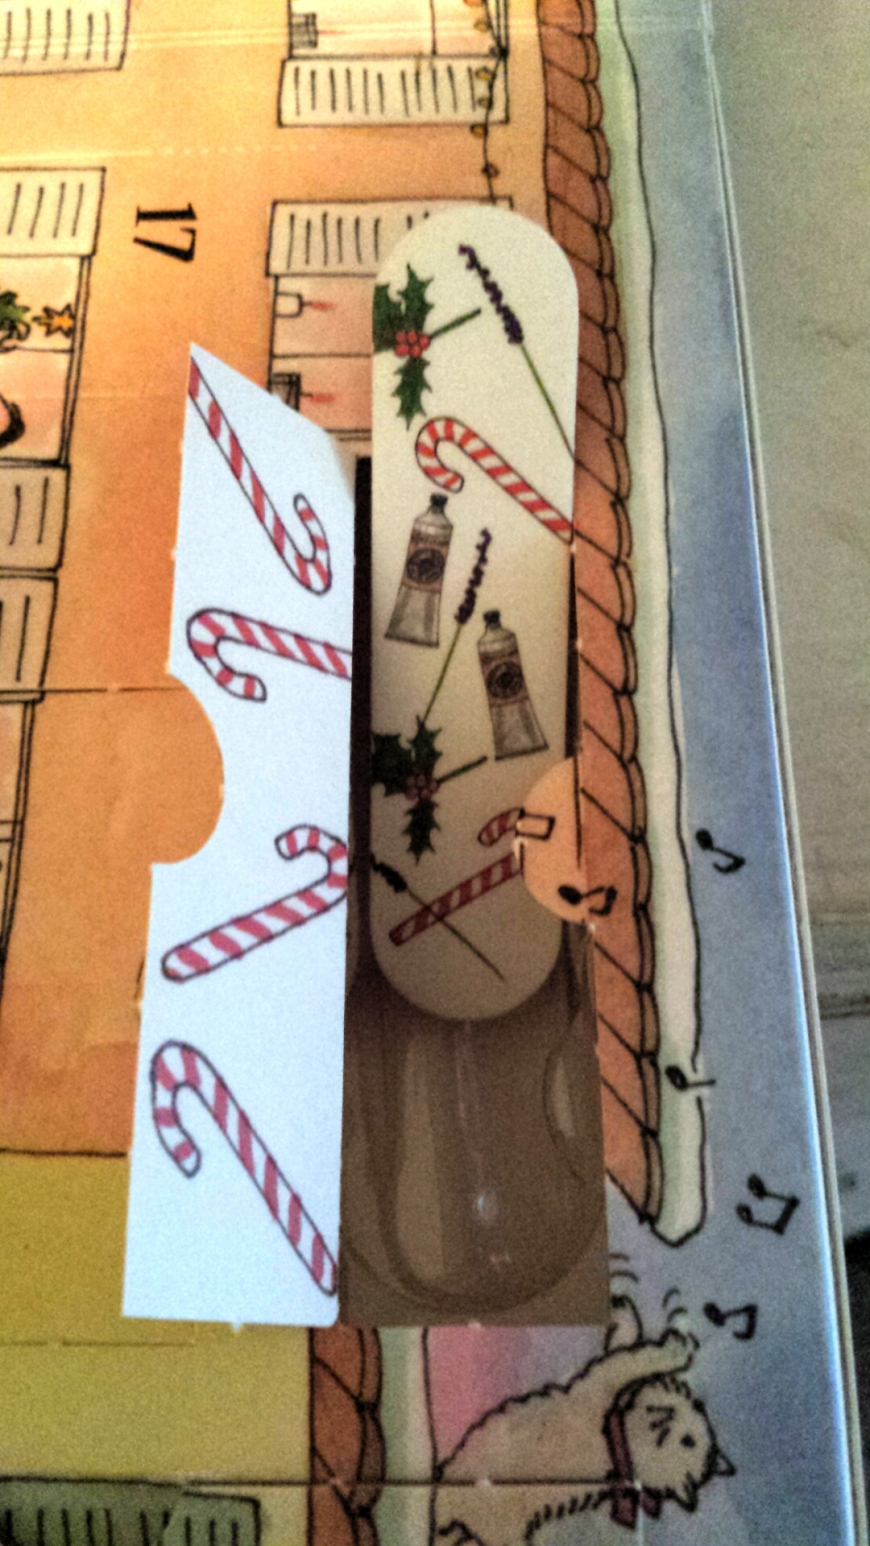
As I mentioned the other day, I got this nail file in my advent calendar and I used it as inspiration for this nail art.

image

image

When I first set out to do this, I thought it would be a lot more complicated than it actually was. If you have some nail art pens and a steady hand this is really simple!
image

You will need:

  • Base coat
  • White nail polish
  • Red nail art pen
  • White nail art pen
  • Topcoat

Step One 

As always make sure you use a basecoat on all of your nails and allow to dry a little. I have used First Base by Essie.

Step Two 

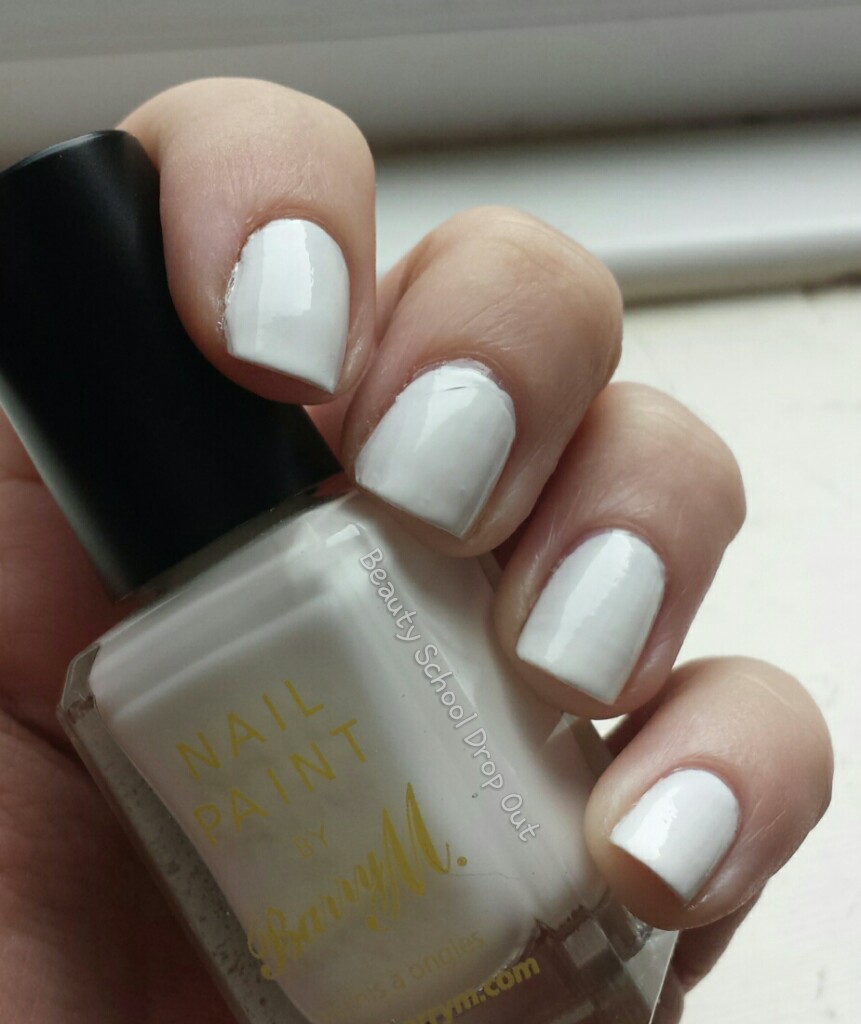
Apply two coats of white polish to all of your nails. I have used Matt White by Barry M. I always try and use thin coats when painting with white polish, as it’s a colour that you always need two coats of, and sometimes even more. Thinner coats will also dry much quicker. I left my nails for about an hour before I moved onto the next step.

image

Step Three 

Next you will need a red nail art pen, or your favourite red polish and a thin nail art brush. I always start on my right hand, as this is the one that always seems to look the messiest as I have less control when drawing with my left hand and it gives you a chance to practice before getting onto the ‘good’ hand.

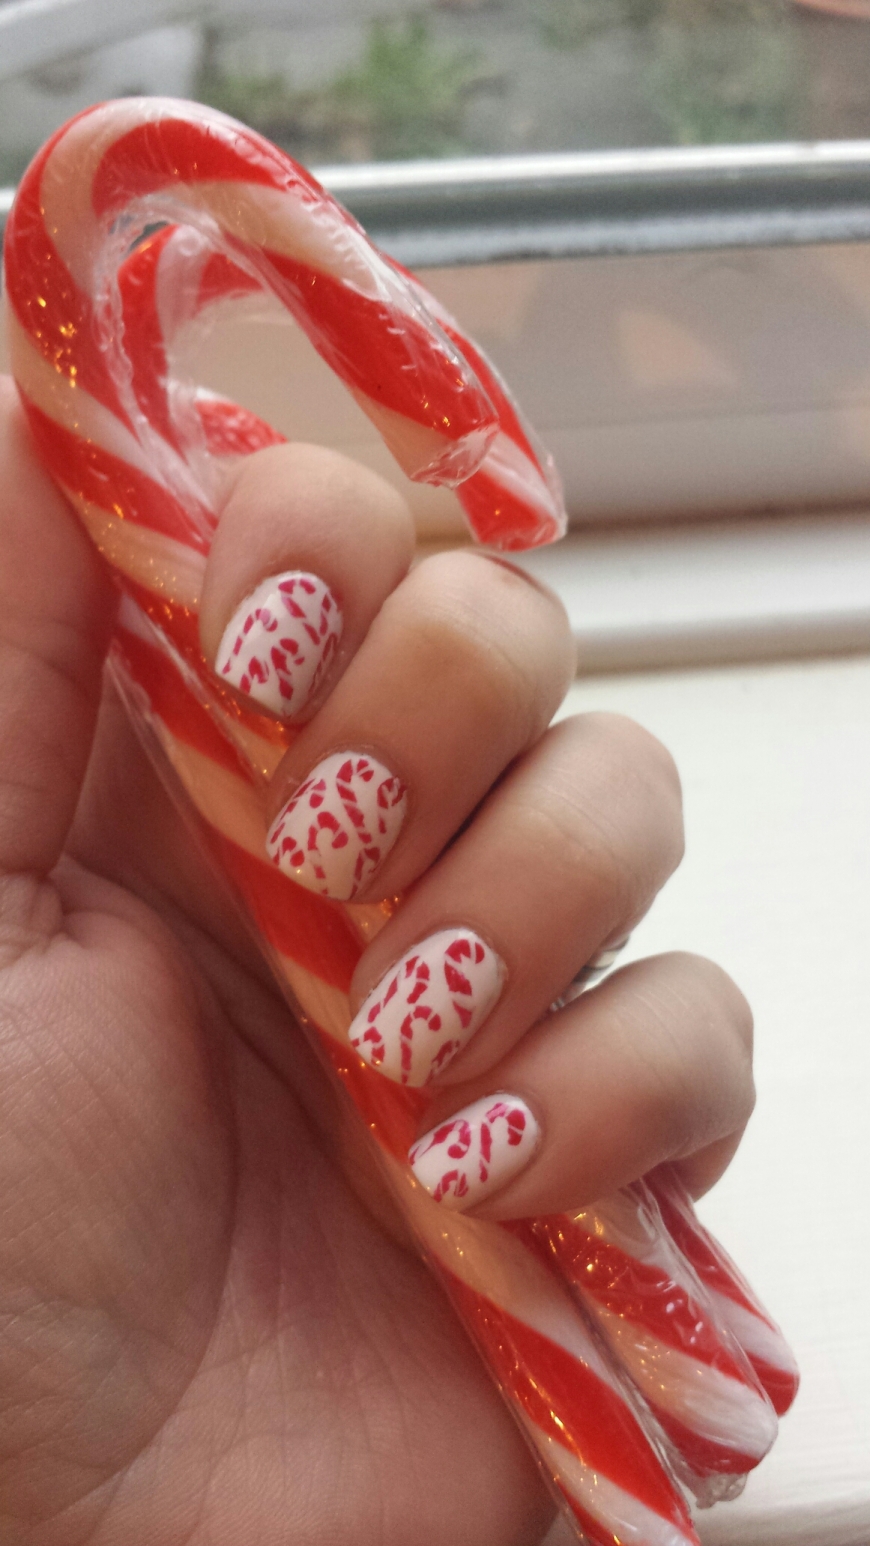
Using your red nail art pen draw some candy cane shapes onto your nails. I think it looks great if you can cram a lot of candy canes onto each nail, but you can just draw one or as many or as little as you like. Draw them in lots of directions to create some contrast.

Repeat this step on all of your nails. This actually is a lot quicker than you would think when you get into the swing of things.

Allow the red polish to dry completely before moving on.I left mine for about 6 hours before I did the next step.
image

Step Four

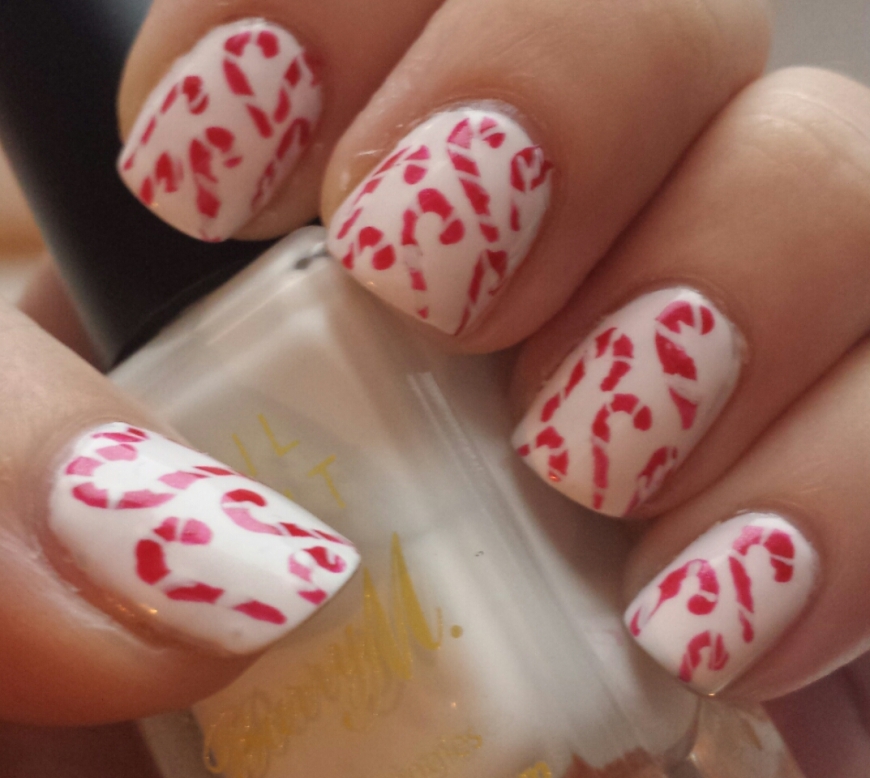
For this step you will need either a white nail art pen or the white nail polish that you used for your basecoat and a fine nail art brush. Starting at the bottom of your candy canes draw white diagonal lines, leaving a gap in between each line. Repeat on all of your candy canes.

This is really important…make sure that the red polish is completely 100% dry before you start this, otherwise the colours will bleed into one another!
Step Five 

Finish off with your favourite top coat, as always i’m using Good to Go by Essie.

image

image

I love Christmas nail art and hopefully this will be the first of many this year providing that I get enough time. The next I have planned will be on 18th December…Christmas Jumper Day!!

Beauty School Drop Out xx


Barry M Aquarium Collect – Aquarium

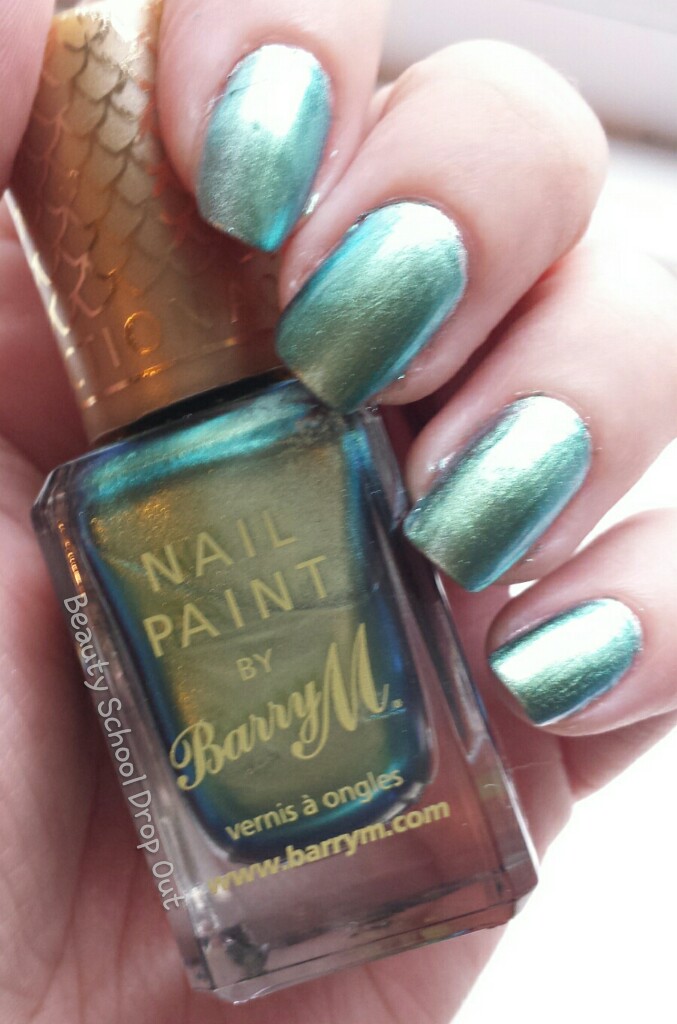
As promised here is a swatch of Arabian by Barry M from the Aquarium Collection.

image

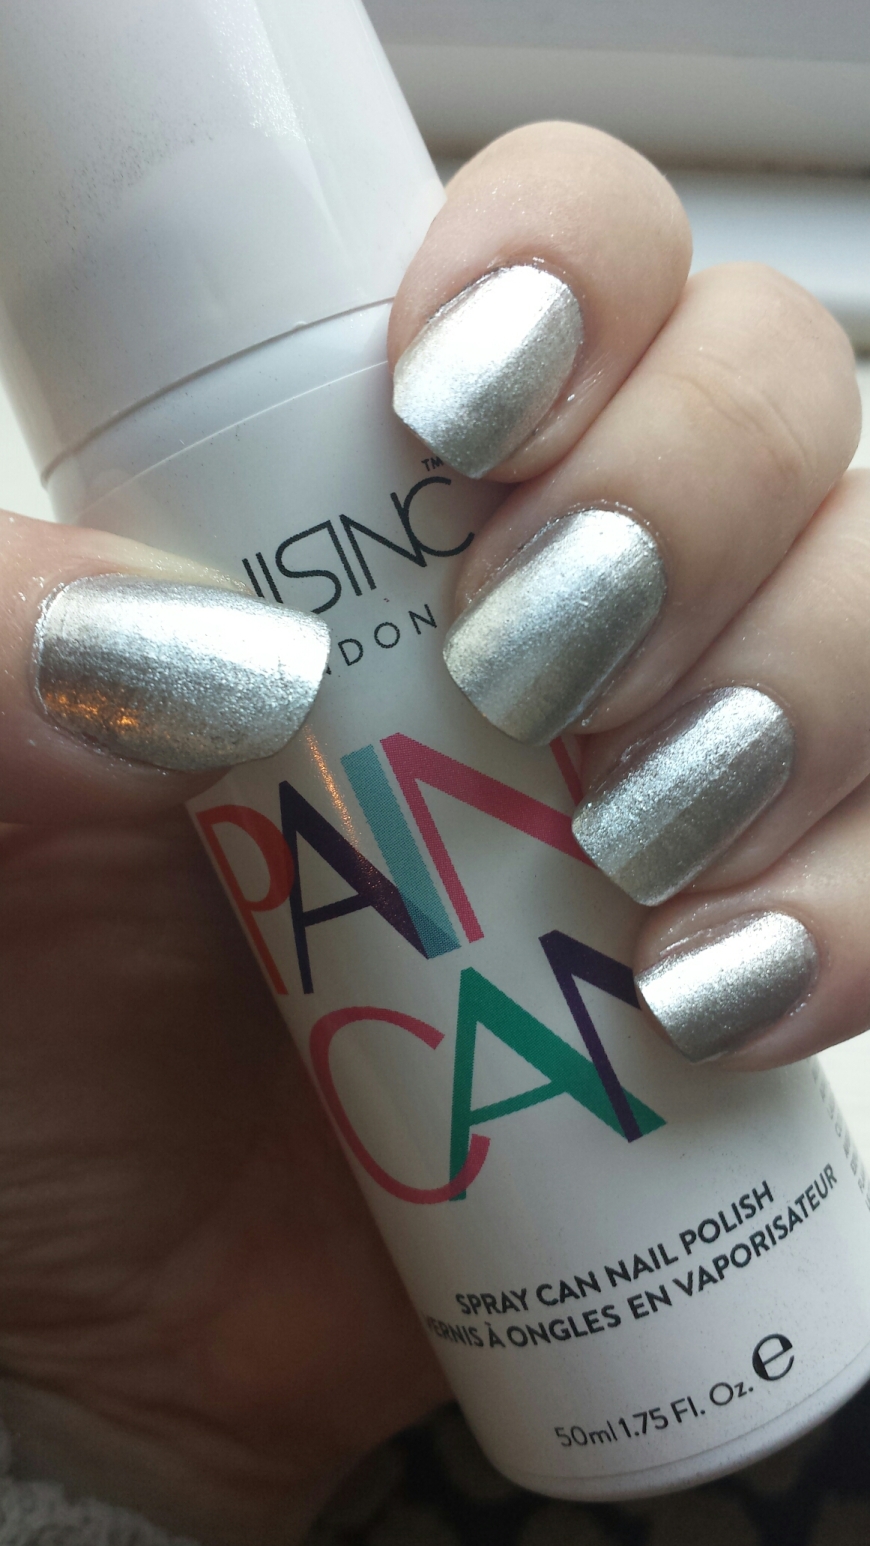
I can’t get over what a beautiful colour it is! I used the Nails Inc Paint Can in Shoreditch Lane as a base colour.

image

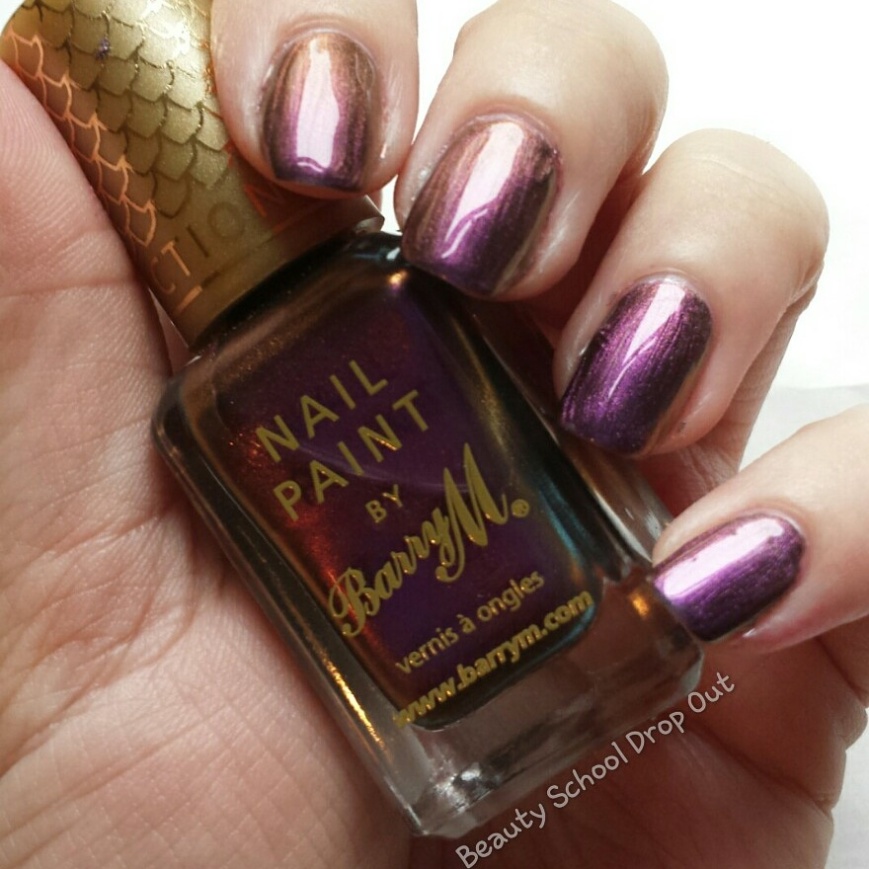
And then applied two coats of Arabian. This is such a beautiful colour that is sometimes green, blue or gold depending on what light you are in.

If you missed the swatch of Persian on my other post, then here it is again.

image

These are gorgeous gorgeous polishes, I can’t get over how beautiful they are. They are quite sheer on their own, but over the top of a silver basecoat makes the polishes really stand out.

Don’t forget if you are on Twitter or Instagram to follow me @duracellbunny85

Beauty School Drop Out xx